Inserting images in Snap XMP Desktop
In Snap XMP Desktop, images can be placed in any question text on the questionnaire. For this guide we’ll be using an Icon that can be found in our image resource.
- Open the survey, make sure you are in Design mode, and that the toolbar topic is set to Font.
- Place the cursor at the point where you wish to insert the image.
- Click Insert and select Image from the menu. This opens the Insert Image dialog.
- In File, select the image file from the list or click Browse to select the file.
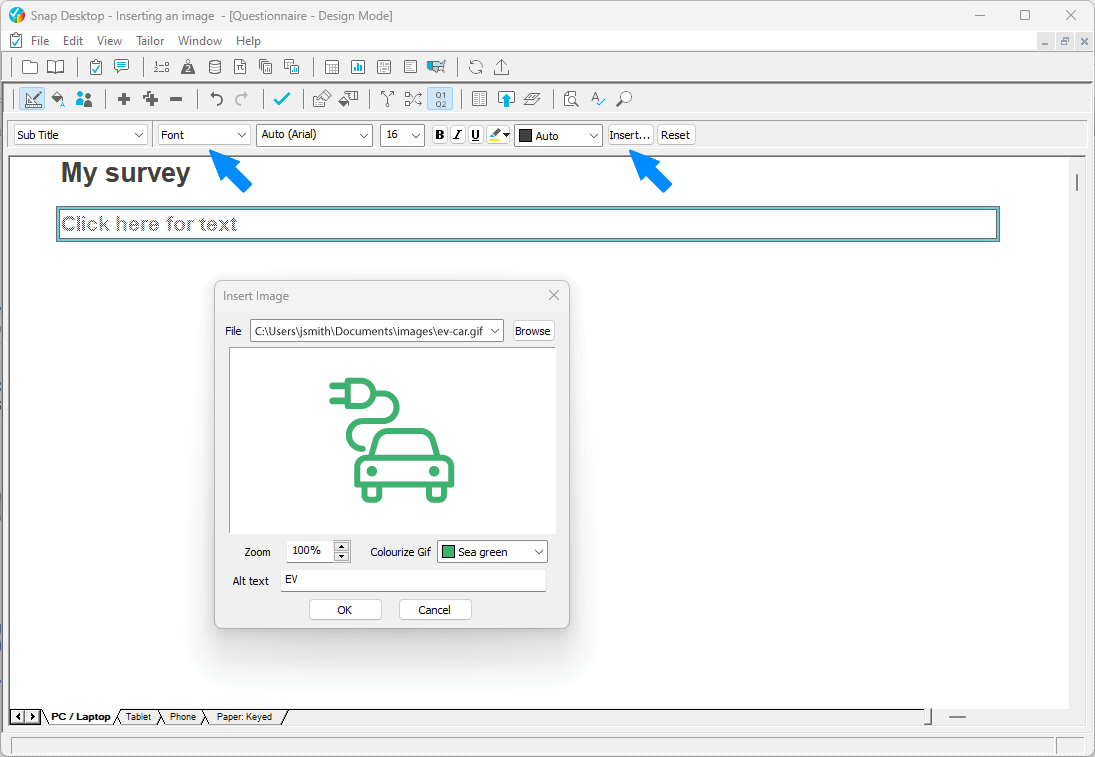
- Use the Zoom control to enlarge or reduce the image. This changes the size of the image shown in your questionnaire. For example, setting the zoom to 50% will mean that the image appears at half the height and half the width.
- In Colourize Gif, select the colour, if applicable for the type of image.
- In Alt text, enter text that describes the image. The browser will show this text as an alternative when it cannot display the image. Adding this improves accessibility as screen readers use this text.
- Click OK. The questionnaire now shows the image.
- Double click on the image to edit it in the Insert Image dialog.
Inserting images in Snap XMP Online
Inserting images in Snap XMP Online is a little different than Snap XMP Desktop, but you can still edit and colour them in each workspace, however you started.
- Once you’ve logged into Snap XMP Online, select your survey in the Your Work sidebar, and click Build in the main window Summary tab.
- Place the cursor at the point where you wish to insert the image.
- Click the Insert an Image icon in the edit toolbar, and click the Choose an Image… button in the pop-up dialog.
- In the next pop-up dialog you can either Select an image already in your image library, or Upload a new image by choosing a file or dragging an image from your desktop into the window.
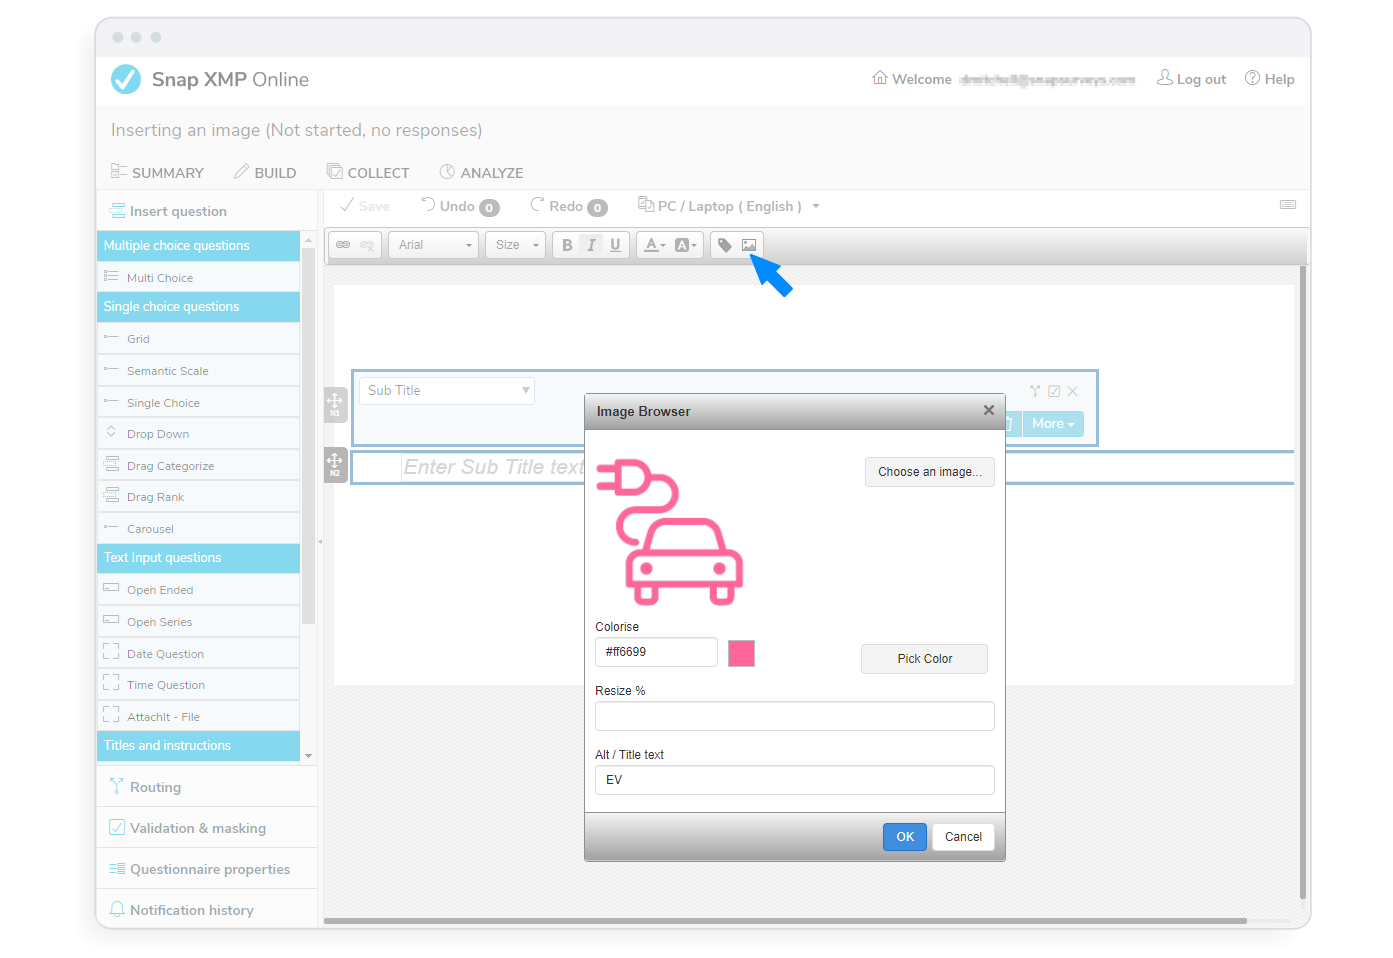
- Use the Resize control to enlarge or reduce the image.
- Use the Pick Color button to change the colour.
- In Alt/Title text, enter text that describes the image. The browser will show this text as an alternative when it cannot display the image. Adding this improves accessibility as screen readers use this text.
- Click OK. The questionnaire now shows the new image.