Interviewing participants
Running a mobile interview schedule can involve multiple interviewers who each have a set group of participants to interview. In Snap XMP, you are able to create a mobile survey that requires participants to log in and assign these participants to an interviewer. The interviewers can then use the Interviewer app to conduct mobile interviews for their assigned participants. In Snap XMP, you have the ability to set up a survey for mobile interviewing, upload participants to the survey and assign interviewers to the participants.
Interviewer is an app that connects to Snap XMP Online and downloads surveys and uploads responses to an account on Snap XMP Online.
Step 1: Create the survey
You can create the survey in Snap XMP Online or Snap XMP Desktop. If you would like to include a customised login page, you will need to create the survey in Snap XMP Desktop.
The questionnaire needs to have at least one mobile edition for a mobile phone, tablet or kiosk. We recommended that you create an edition for each type of device that will be used for interviewing.
Step 2: Create a customised login page
When a questionnaire requires a participant to log in, a default login page shows at the start of the questionnaire. This shows a Username and Password field where the participants enter their log in details to complete the questionnaire. In the default login page, the password field always shows even if it not used. In Snap XMP Desktop, you can customize the login page to include branding, images and further instructions. Further information can be found at Creating a custom login page
Step 3: Publish the survey
Once completed, publish the survey in Snap XMP Online or Snap XMP Desktop.
Step 4: Allow mobile interviewing for the survey
Once the questionnaire is completed and published it can be set up for mobile interviewing.
- In Snap XMP Online select the survey in Your Work.

- Click the Collect link and the Settings section displays by default.
- Click Change Options to open the Interviewing options dialog.
- In the Interviewing options dialog, select Allow mobile interviewing in Snap Offline Interviewer. You can now use the survey for mobile interviewing.
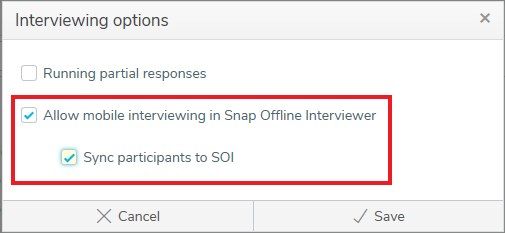
- Select Sync participants to SOI. This allows participants to log in to a survey during mobile interviewing. This flag must be set to create a logged-in survey.
- Click Save to save the survey settings.
Note: If the Sync participants to SOI option is not available contact your system administrator about permission to access this feature.
Step 5: Add shared accounts for the interviewers
You need to share your survey with the interviewer accounts prior to assigning participants to the accounts. Use Snap XMP Online to sharing surveys with an interviewer.
- In Snap XMP Online, the first page shown is Your work. Select the survey that you wish to share with the interviewer.
- Select the Shares tab in order to share the survey.
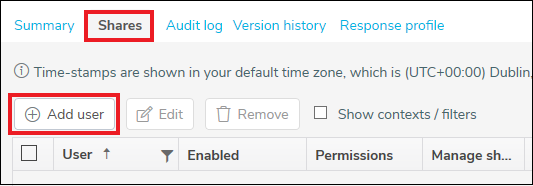
- Click the Add user button to add the interviewer’s Snap XMP Online account to share this survey.
- In the Add user dialog, enter the interviewer’s email account used for their Snap XMP Online account.
- Next set the Permissions to Interviewer.
- Set Enabled to Yes for the interviewer to have access to the shared item.
- Set Manage shares to No if you do not want the interviewer to share the work with other account holders.
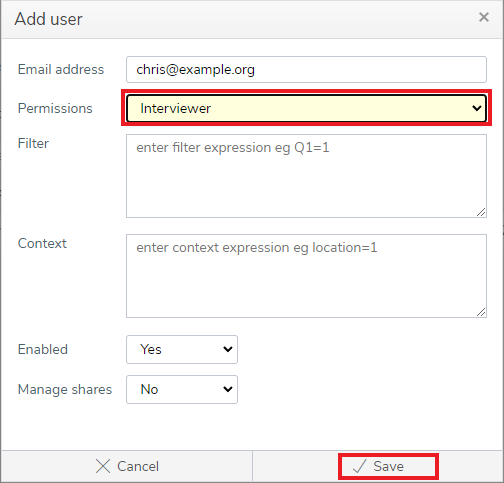
- Click Save to add the user. The interviewer has access to use the shared survey to conduct interviews using the Interviewer app.
Step 6: Bulk upload the participants
The Upload Participant Wizard loads a list of participants and associated data from an Excel spreadsheet into the survey. This is a quick way of loading a large number of participants at once.
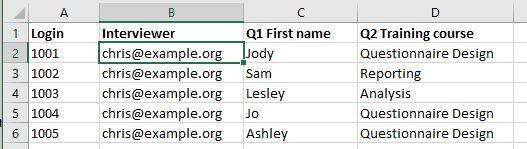
The spreadsheet needs to contain:
- Unique participant login which may be an email address
- Interviewer seeding data with a data column containing the interviewers’ email addresses.
- Other seeding data with a data column for each survey variable that you want to seed
Note: The interviewers need to be set up prior to bulk uploading the participants or the process will fail. The interviewer may be left blank then edited on an individual basis later in Snap XMP Online. (This is shown in Step 7).
Here is an example of an Excel spreadsheet with participant data.
Upload the spreadsheet
- Open your survey in Snap XMP Online and from the Summary tab navigate to the Collect section.
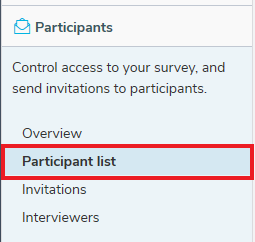
- Select the Participants side menu to view the participants and invitations. The Participants Overview shows by default.
- Click on the Participant list menu item to view the participants.
- Click on Upload Participants to open the Upload Participants Wizard.
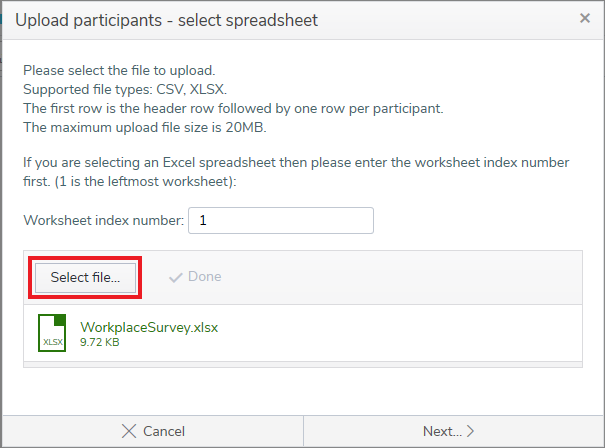
- On the first page, click Select file to add the file with the participants’ data. The accepted formats are CSV and XLSX. Click Next.
Select the survey options
- On the next page, select the survey options for sending email invitations
- To track respondents select Allow Snap Online to track your respondents for questionnaire seeding.
- In Login field, select the spreadsheet column containing the Login for the participants. This field is mandatory and needs to be unique so that can track the participant. The default is the first column in the spreadsheet.
- In Interviewer, select the spreadsheet column containing the interviewers’ email addresses. If you cannot see the Interviewer field, then this survey has not been set up for mobile interviewing, as in Step 4.
- Select Seed data into questionnaire when your spreadsheet contains data that you want to default into the questionnaire as the participant is completing it.
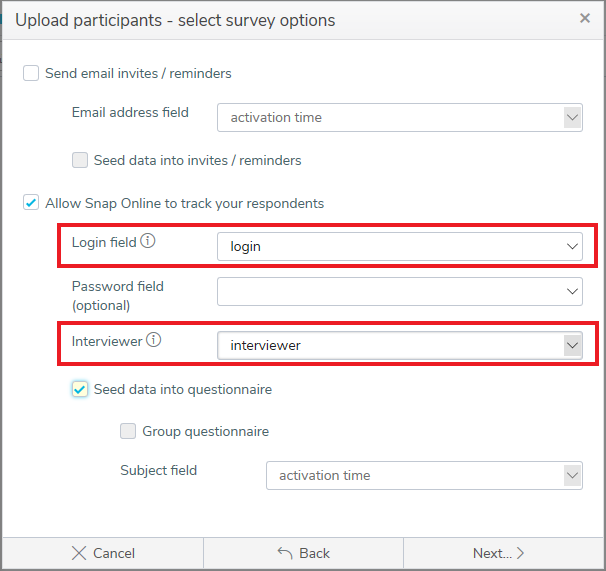
- Click Next. The next page lets you set up seeding.
Set up seeding
- Select a spreadsheet column from the Spreadsheet Column list then select the question to seed from the Snap Variable list
- Click Add which is next to the row. This adds another row below. Repeat for all the columns you need for your questionnaire seeding.
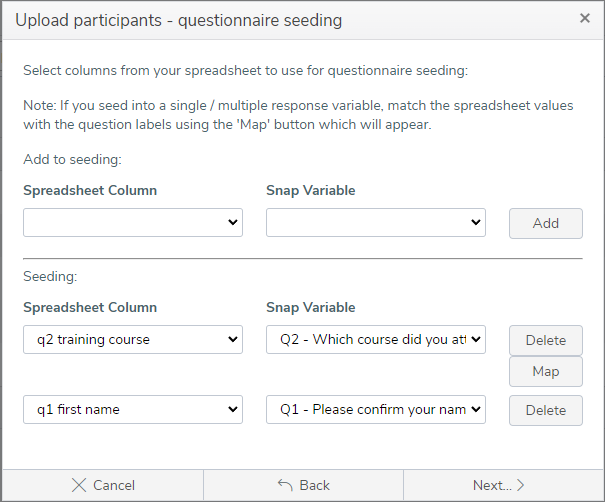
- Click Next. The overview summarizes the chosen settings for you to review.
- Click Upload to upload the participants to the survey. The results are shown when the upload is complete.
- The upload process shows an error for any of the interviewers that are not set up as a shared user.
You can upload changes to the participants using the Upload Participants Wizard with options to add new participants only, update participants, replace all participants and delete particpants.
Step 7: Edit assigned interviewers
When you upload the participants list you may not always know the information about the interviewers. This information can be added later individually for each participant. You can also change the interviewer assigned to a participant after the upload.
Note: If a participant is not assigned an interviewer, then any interviewer set up for the survey can complete the interview with the participant. The first interviewer to complete for the participant and sync completes the response.
- Open your survey in Snap XMP Online and from the Summary tab navigate to the Collect section.
- Select the Participants side menu to view the participants and invitations. The Participants Overview shows by default.
- Click on the Interviewers menu item to view the participants and associated interviewers.
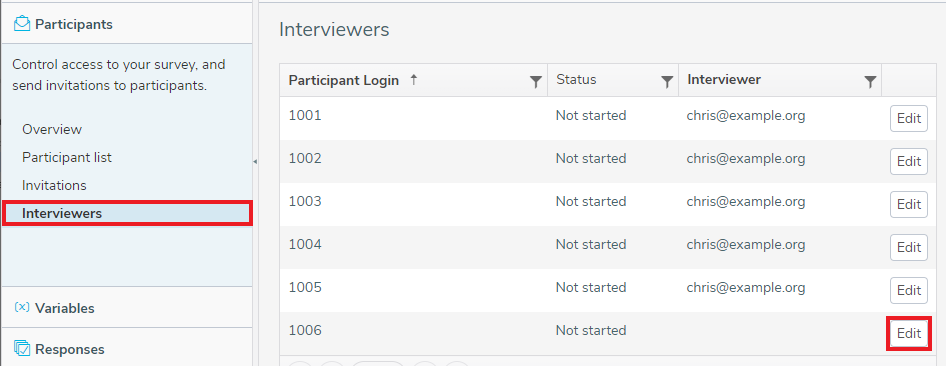
- Click Edit on the participant row that you want to change.
- In the Edit participant interviewer dialog, select the interviewer from the list of shared interviewer accounts. This list also includes the survey’s owner account.
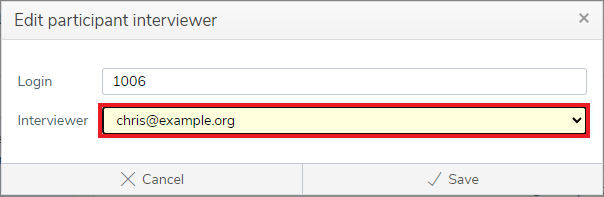
- Click Save to assign the interviewer.
Step 8: Start interviewing
You can start the interviewing process manually following publication of your survey. This makes the survey available to your participants.
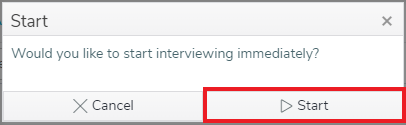
- Click the Start interviewing button to make the survey available to respondents straight away.

- Click the Start button to confirm that you would like to start interviewing.
Step 9: Interview the participants
Prior to interviewing, you must ensure that the Interviewer app is installed on the devices used for mobile interviewing.
Further information on how to install the app is available at:
Apple iOS devices
Installing on devices running Apple iOS
Google Android devices
Installing on devices running Google Android
Once you have installed the app, you are ready to start interviewing.
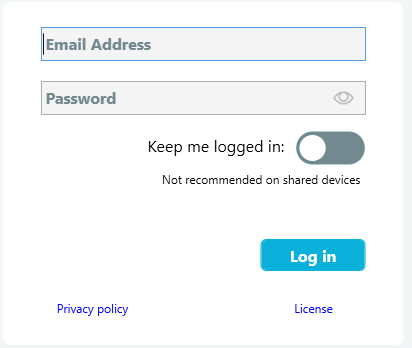
- Open the Interviewer app on the device used for mobile interviewing.
- Enter your Snap XMP Online email address and Password in the Login page. Click Log in. If you have previously logged in and selected Keep me logged in then you do not need to complete this step.
- Interviewer connects to Snap XMP Online and downloads your surveys. Alternatively, you can tap Sync to synchronize the surveys and participant information manually. This shows a list of available surveys.
- Tap the survey that you are using for mobile interviewing. The first page requests the participant’s login and a password.
- Enter the participant’s login and password, if required, then tap Next.
- Go through the questions with the participant and enter their responses, tapping Next to move to the next page of questions.
- Click Submit to complete the survey. A confirmation message is shown when the response has been successfully submitted. Click OK. This shows the login page, ready for the next interview.
- On the Surveys page click Sync to update the responses to the survey immediately. This can also be done automatically by turning on Auto-synchronize in the app settings.
Note: If a participant has been assigned to more than one interviewer or not assigned an interviewer then the first reply completed and synchronised will be saved. Any other responses from the same participant will not be recorded.