Transferring data between a survey and a database
Snap XMP Desktop allows you to link your survey to a database. This allows you to seed the survey with data that is already in your database, or use email addresses in the database to send invitations to your participants. In addition, data received from the survey can be exported back into the database.
To connect the survey to a database, you need a database field that contains a unique ID for each participant. This is used to identify a participant variable in the survey, so the data is put in the correct person’s record or response. Snap XMP Desktop can automatically identify many database types. However, some databases have specific requirements, such as password protection. For these, you need to specify how to connect the data link. You use Microsoft’s Data Link tool to do this.
This tutorial describes how to create a link between a Snap survey and a SQL Server database, to seed your survey, or send updated data from your survey to your database. You can set this up to happen automatically by using a Hot Link.
Setting up the Database Linkage Wizard
- In the Survey Overview window, open the required survey.
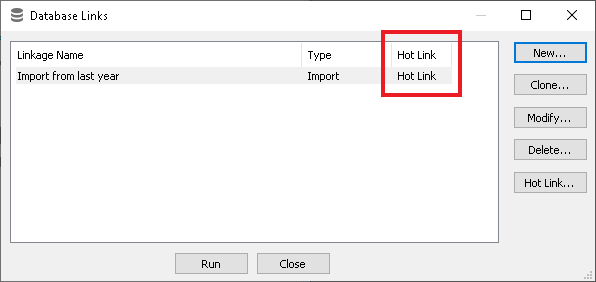
- Select File | Database Link to display the Database Links dialog.
- Click New to create a new database link. This opens the Database Linkage Wizard.
- In Linkage Type, select Import from Database.

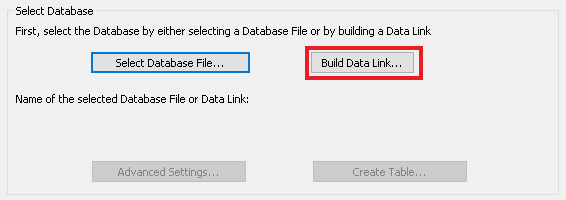
- Click Next. The next step requires a database file or to build a database link. For most types of database file, click Select Database File. If the database type is not listed as one of the defaults in the Select Database File dialog then click Build Data Link to create the connection. This example describes how to build a link to an SQL database.
Creating the data link for the SQL database
- Click Build Data Link. This opens the Data Link Properties dialog where you can create the data link
- Select the appropriate data type. For a link to an SQL Server database, select Microsoft OLE DB Provider for SQL Server.
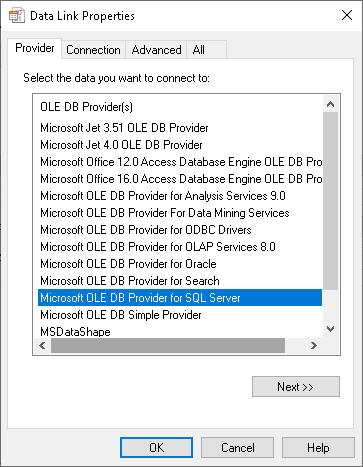
- Click Next. The Data Link Properties dialog moves to the Connection tab.
- Select the SQL server on your network from the dropdown list.
- Select the appropriate security type for the server.
- Select the SQL Server database file from the drop-down list, or type the name of the file.
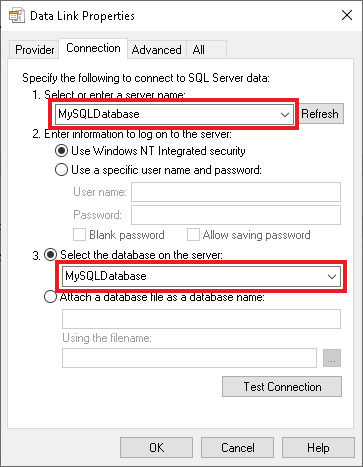
- Click Test Connection to confirm that you can connect to your database.
- Click OK to return to the Database Linkage Wizard.
Matching records between the survey and the database
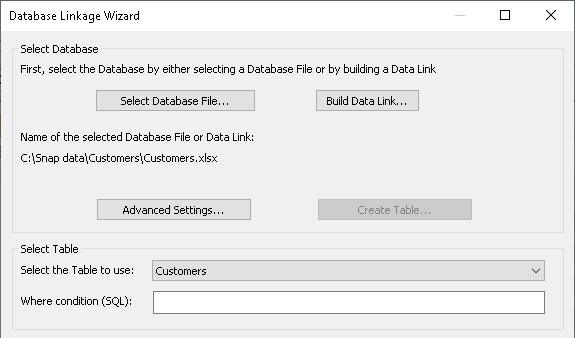
- Select the table or sheet in your database containing the data you want. Click Next.
- Select how you will import data to the survey. You will need a unique id for each person in the database that can be matched with a participant (for example, a customer id or email address). This is called the link variable.
- Join cases where the link variables match only imports data from the database if the id is already in the survey.
- Join matching cases and append unmatched cases imports all data from the database. If the id is already in the survey, the appropriate data is added to that case. If it’s not, a new case is created.
- Append unmatched cases creates new cases in the survey for the ids that are not already in the survey. It does not change the existing cases.
- Append all cases creates new cases in the survey for every id in the database. It does not check if the id already exists in the survey.
- Select the field in the database that contains the unique id from the Database field dropdown list.
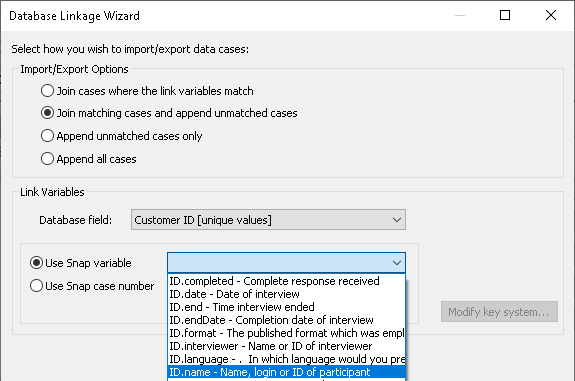
- Select the variable in the survey that contains the unique id from the Use Snap variable list. (You can also use the case number as the unique number for each case.)
- Click Next.
Choosing the database fields to import
After selecting the database, database table, and matching variable, you need to select the database fields to import. The Database Linkage Wizard dialog shows a list of database fields that you can import on the left, with variables in the current survey on the right.
- In each row, select the survey variable that maps to the database field. Snap XMP Desktop initially works out a suggested mapping. To change this mapping, select a variable from the list of available survey variables. Select blank if you do not wish to map the field.
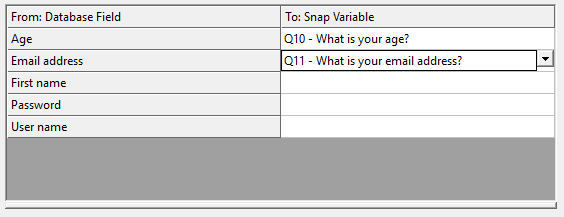
- If you wish to import a field into your survey that does not already have a variable set up in your survey, select <Create Variable> from the dropdown list. The Name and Label automatically display the name of the database field. You can edit them if you wish. Set the response type and length to appropriate values and click OK.
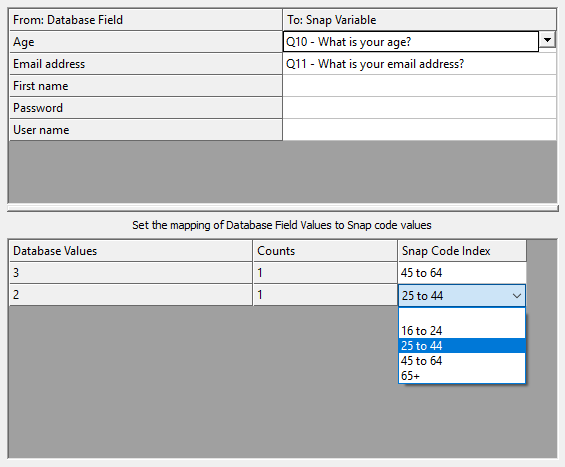
- If you wish to import data into a multi-response variable, you may need to set up which codes in the database match to which variable codes in the survey. When you select the multi-response variable in the right hand column, a code mapping area appears. Select the appropriate code or define a new one as you can with variables.
- Click Next to display a summary of what the link does.
- Check the details are correct, and enter a Name for the database link.
- Click Finish. Snap shows the Database Links dialog including the new link.
- If you wish to alter any part of the link, click Modify. To delete a link, click Delete. To make a copy of the link, click Clone, and then modify the new link as required.
- Select the link and click Run to import the data. A brief report is displayed.
Setting up an automatic Hot Link
Making an import link into a hot link means that when you identify a new case by entering a unique value in the link variable, data from the external file is copied into the new case. This means that details such as name, address and email address could be loaded into the survey as soon as the case was identified.
If it is an export link, the data entered in the survey is copied to the external file. If it is a new case, a new record is created. This allows you to keep a database up to date.
- Select File | Database Link to open the Database Linkage dialog.
- Select the database link.
- Click the Hot Link button. This opens the Hot Link dialog.
- Select Use As Hot Link, then select the appropriate option.
- Automatic update: updates the matched variables of each case when the key link field is entered.
- Manual update: update the matched variables when you click the refresh button
 on the Snap XMP Desktop toolbar.
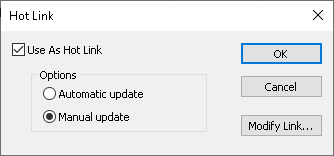
- Click OK. The Database Link dialog shows the amended link specified as a Hot Link.
- The link will update the survey when the database changes. Click Run to update the survey immediately.
For instructions on linking to a database containing email addresses, see Setting up email invites for online surveys.
For information on using a database link to share information between Snap surveys, see Importing data from another survey and Exporting data from another Snap survey. Further information on using Hot Links is at Using Hot Links.
If there is a topic you would like a tutorial on, email to snapideas@snapsurveys.com