Compound Grids
A compound grid combines multiple grids into a single grid. This allows a grid to contain different question styles such as single choice, multiple choice and open series. With this feature, you can create grids with rows that allow the respondent to select a choice, then add associated comments, dates, times or amounts, as part of the response.

To combine the grids into a compound grid, they must:
- follow each other in the questionnaire
- not have page breaks between the grids
- contain the same number of questions or rows
- contain grids or open series. These are the question styles Grid First, Grid Next and Open Series First, Open Series Next or styles that are based on them.
- have the same Show settings for Space before and Line before
Create the first grid
The first grid or open series question sets the questions that are used for each row. You can add question text in subsequent grids but when they are combined in the compound grid only the question text from the first grid will be shown.
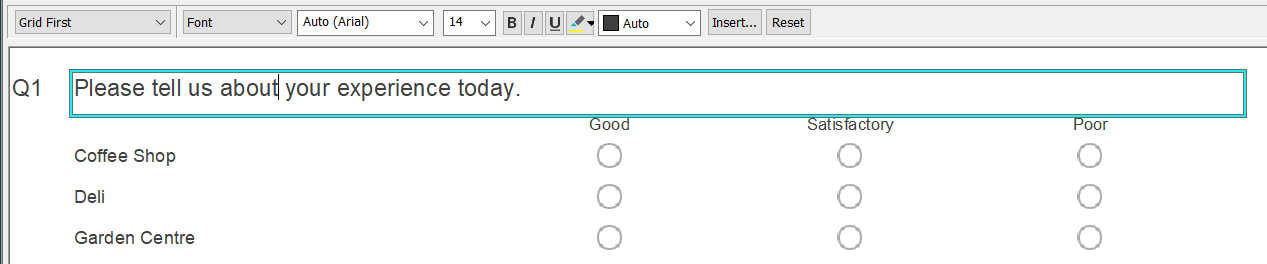
In this example, a Grid First question starts the compound grid.
- Click New Question to add a new question.
- In the style selection drop down list change the style to Grid First. This will allow you to set up the headings for the first of a series of grid questions.
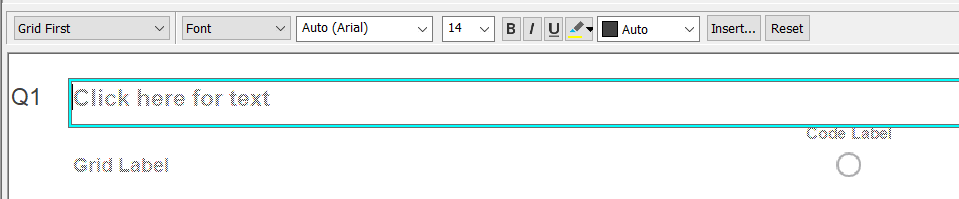
- In the area marked Click here for text, enter your question text, for example “Please tell us about your experience today.”
-
Press the Tab key on your keyboard and enter the first answer, such as “Good”. Press Tab to create the next code and enter each subsequent answer. After the last code press the Down arrow
 instead of Tab.
- The cursor will move to the text of the first Grid Label. Type the first item, such as “Coffee Shop” and press Tab.
- This creates the next grid row automatically changing the style to Grid Next for the second and subsequent rows. Enter the next Grid Label.
- Press Tab to create another grid row or press Enter to complete the grid and move to a new question.
Create subsequent grids
Create the other grids that form part of the compound grid in the same way. Multiple grids can be added to the compound grid, but consideration should be given to the layout of the questionnaire.
When adding the grids make sure there are no page breaks between them.
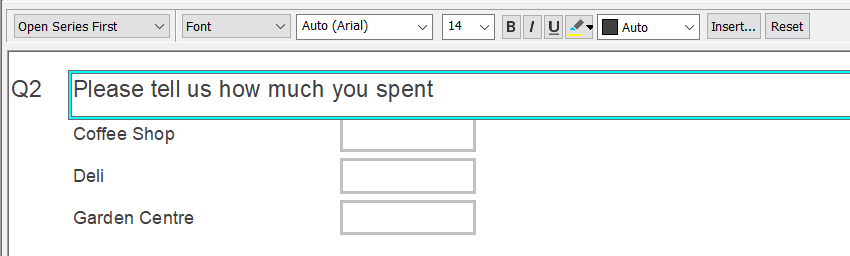
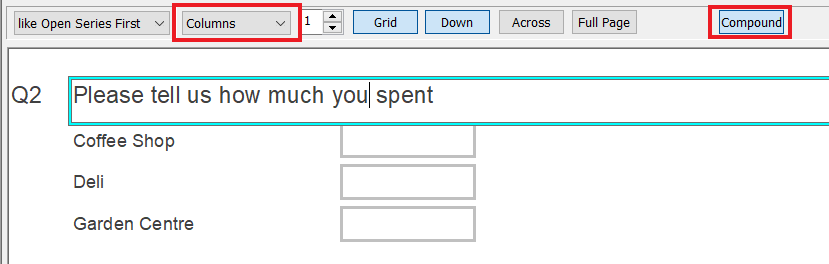
In this example, an open series question asks the respondents how much they spent.
- Click New Question to add a new question.
- In the style selection drop down list change the style to Open Series First. This will allow you to set up the heading for the first of a series of questions, each of which can contain numbers or text.

- In the area marked Click here for text, enter your question text.
- Press Tab and enter the text for the first row.
- Press Tab. and enter the text for the next row. This automatically changes the style to Open Series Next for the second and subsequent rows.
- Press Tab. and enter the text for the next row. This automatically changes the style to Open Next for the second and subsequent rows.
- If you need more questions press Tab again and repeat the process.
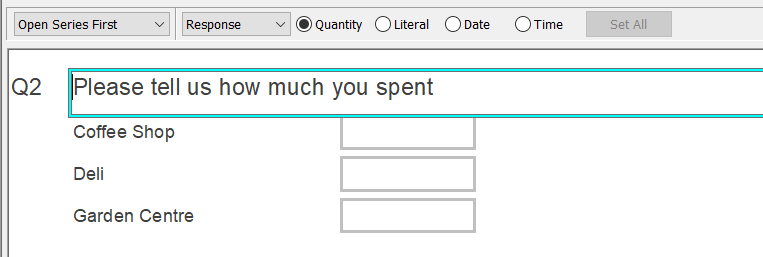
- If you wish to change the response type, select Response in the toolbar and select the response type. In this example, the response type is Quantity. Any following questions will keep the new response type.
Combine the grids
The next step is to combine the grids and open series questions to create the compound grid.
- If you do not want the question number showing across the compound grid, remove the question numbers on the grids by selecting Show and clearing the Show option for the Name.
- Select the first row of the second or subsequent grid.
- In the menu, select Columns from the second drop-down.
- Click the Compound button to set this grid as part of the compound grid. The display of the grids in the Questionnaire design window will not change.
- Repeat this for any further consecutive grids that are part of the compound grid.
When this compound grid appears in a live interview, the open series question (Q2) displays adjacent to the grid question (Q1).

Adjusting the proportional width used by each grid
By default, the grids within the compound grid are automatically spaced across the web page. You can adjust the width of each grid set up in the compound grid.
After you have set up the compound grid, you can set the widths in the Questionnaire design window.
- Select the grid in the questionnaire.
- Select ‘Compound’ in the toolbar and you then have the option to specify whether the grid is the starting point for a compound grid or whether it continues to be a part.

- To turn the setting off, you can select the option Not a compound grid. This is the setting shown if the grid question is not part of a compound grid.
- The sizing defaults to Auto. With this setting, the grid width is automatically calculated during the live interview.
- To set the proportional width, clear the Auto checkbox. This displays a percentage width the grid will use. Enter the percentage required.
- Repeat this for each grid set up in the compound grid.
- Test that the compound grid display in the required way by previewing the questionnaire.
If one of the grids is set to auto, and the other grids have a percentage specified, then the automatically sized grid is displayed with the minimum size required. The other grids will be displayed in the specified ratio across the rest of the available page width.
If you set the combined percentages to more than 100%, Snap XMP Desktop will set them in the ratio they are specified in. For example, if you have 3 grids and you set them all to 50%, Snap XMP Desktop will set them to around 33% each.
Different Editions
In a survey that has multiple editions you will need to consider how the layout of the questionnaire will look for each edition during the live interview.
You must set up the compound grid for each edition. Editions used for smaller screens such as for a phone or tablet may not be suitable for larger compound grids.
Customising the compound grid
The appearance of each grid or open series can be customised individually. When the grids are combined in a compound grid, each grid is displayed with its own styling, including fonts, colours and background.
If you want to create a uniform grid with the same styling, customise each grid in the same way. Creating a question style for the compound grid helps make sure that all the grids have the same appearance.
If you want each section of the grid to be distinct then style each grid as required.
Please note: The line spacing settings given by Space before and Line before (found in the Show option) must be the same for all grids regardless of styling.
Testing the compound grid
The compound grid does not show in the Questionnaire design window, only the individual grids are available.
When you test the compound grid appearance, publish the questionnaire as a preview. In Snap XMP Desktop, more information is available at Testing the questionnaire online and in Snap XMP Online more information is available in the Previewing the published survey section in Publishing your survey.
Please note: The compound grids are only available with the new interviewer. If the grids are not showing as a compound grid, make sure you are using the new interviewer. You can check this in the Questionnaire properties. Select the Interview section and click the Advanced button then clear both interview settings.