Setting up the online survey framework
Setting up your online account details
Before you can create or view the online surveys in Snap XMP Desktop you will need to set up a link with a Snap XMP Online user account. You will need to enter your Snap XMP Online account details to link the surveys created in this Snap XMP Online account to Snap XMP Desktop. You can then Log in using your online account details.
Creating a folder to help organise the online surveys
Folders help to organise your online surveys. Creating your folders first allows you to create or transfer your online surveys to the place you want straight away.
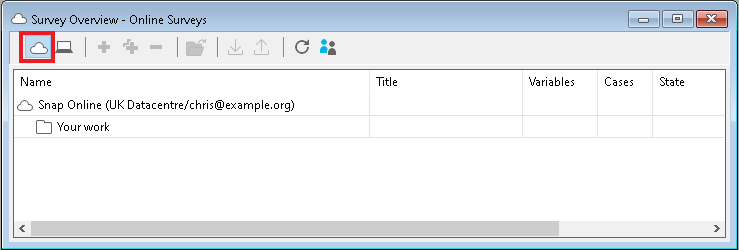
- When you start Snap XMP Desktop the Survey Overview window appears. If it is not open, click Survey Overview
 on the Snap toolbar, which opens the Survey Overview window.
 - On the Survey Overview toolbar, click Online Surveys
 to show the online surveys. When you open the online surveys for the first time, you will see one top level folder called Your work.
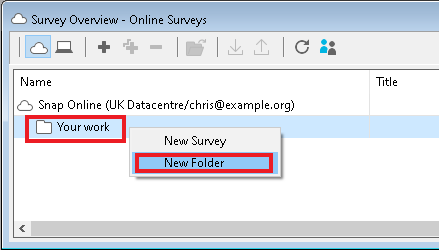
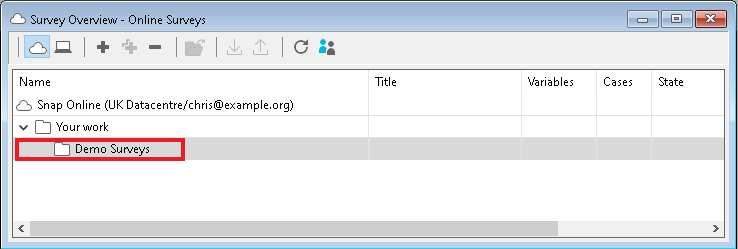
- Click on Your work then right click to show a popup menu and click New Folder.
- In the New Folder Name dialog, enter a name for the folder. In the example, the new folder name is ‘Demo Surveys’.
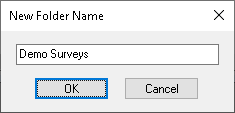
- Click OK and the new folder is shown in the Survey Overview window.
Create a new online survey
-
Click
 to create a new online survey.
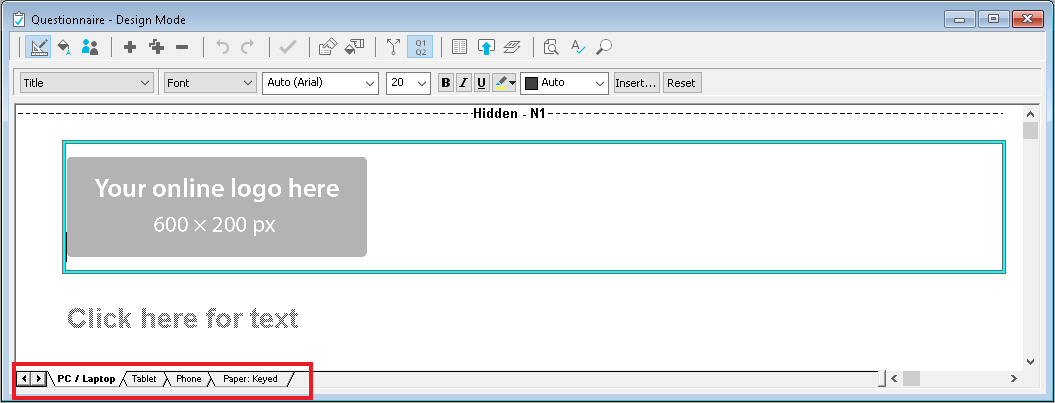
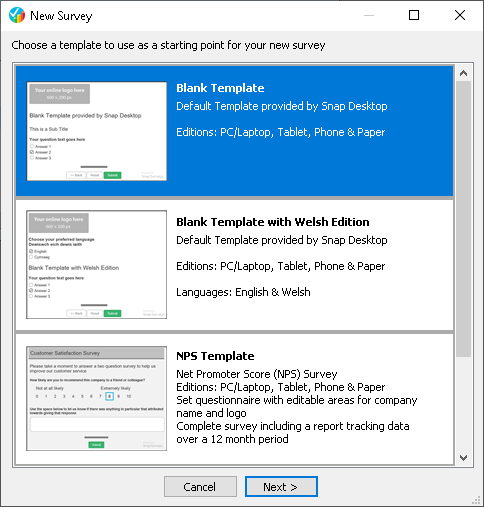
- Choose one of the supplied templates as a starting point for the new survey. The Blank Template is chosen by default. This creates a survey with editions for PC/laptop, tablet, phone and paper. Click Next.
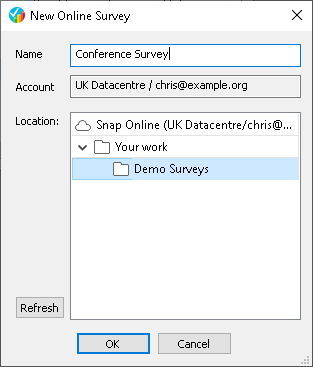
- In the New Online Survey dialog, enter a name for the survey and select the folder to add the survey. Click OK.
- This creates the new survey. You can now build your questionnaire in the Questionnaire window. The tabs for the different editions are shown at the bottom.