Connectors
Connectors use the responses from a previously completed survey – known as the source survey, to create a new participant in another survey – called the destination survey.
When a respondent submits a response to the source survey, that information can be used to create, edit, or delete participants in the destination survey.
This associated information can include details such as logins, email addresses, or other seeded data.
There are three requirements for Connectors:
- The source survey, which is the initial survey.
- The destination survey, which is the follow-on survey.
- The participant definition spreadsheet containing the required participant data fields.
Defining participant data before using Connectors
Connectors are set up in the destination survey.
Prior to using Connectors, you need to upload the participant definition spreadsheet in the destination survey. The format of the spreadsheet needs to match the participant and seeding data expected from the source survey in order to create participants in the destination survey.
This data needs to include a unique identifier for the participant, which may be a login id or email address. The data requires an email address if you wish to send invitations to the participants.
The data may also contain information from the source survey available to seed the invitations or the destination questionnaire.
The spreadsheet needs to contain at least one row of data, but this can be dummy data and you can remove it later.
Importing the participant spreadsheet
- Log in to Snap XMP Online.
- In Your Work, select the destination survey.
- Select the Collect tab and select Participants from the side menu.
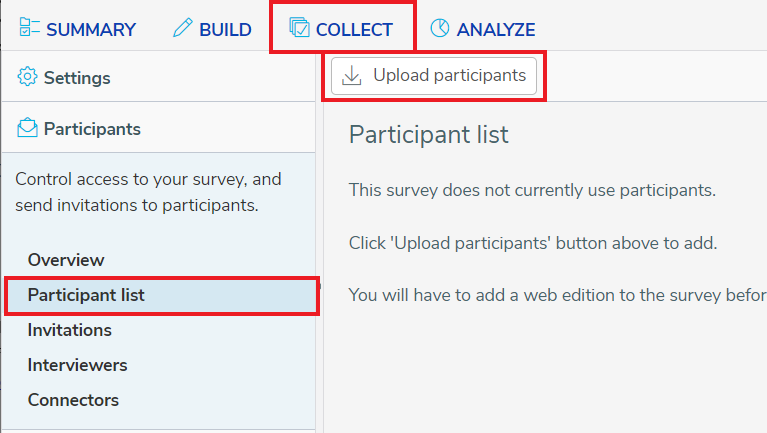
- The Connectors section becomes available after you upload a participant file. Select Participant List and click Upload Participants to load the list of participants. Further information on all the options is available at: Uploading participants from a spreadsheet
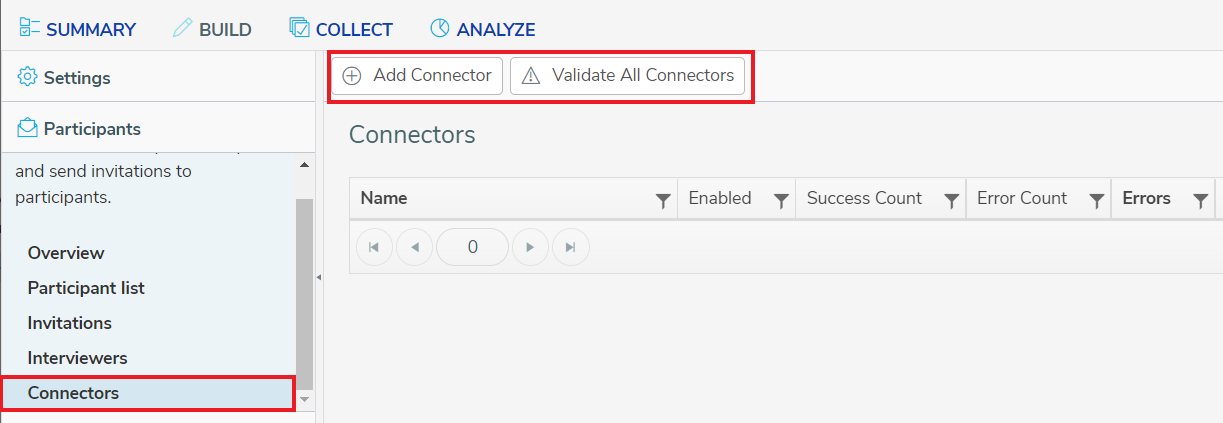
- When the file has been successfully loaded, the Connectors section is enabled. Two options are available: Add Connector and Validate All Connectors
Creating a Connector
Before adding a Connector, make sure that the destination survey is selected, and that the participant definition file has been uploaded.
- Select the Collect tab then select Participants from the side menu.
- Select Connectors and click Add Connector. This opens the Participant connector dialog.
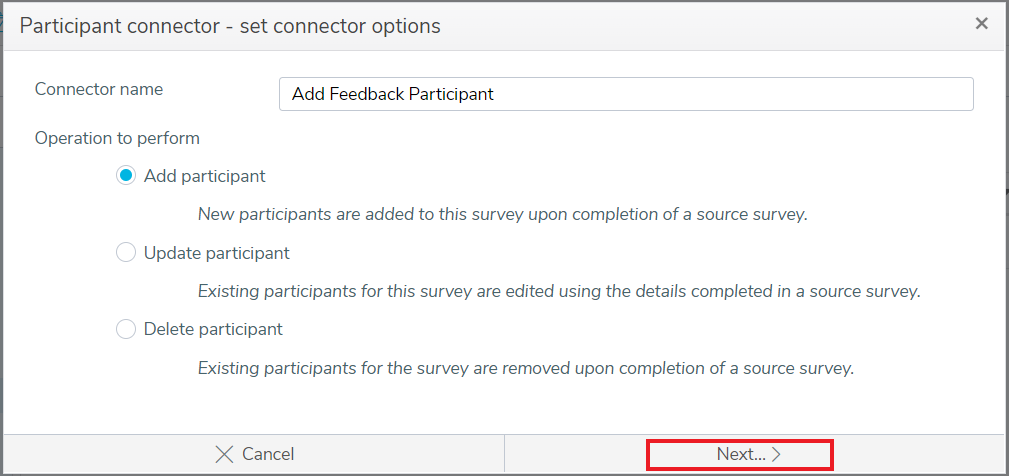
- Enter the Connector name.
- There are 3 operations to choose from: Add participant, Edit participant, Delete Participant. This is the action that is taken when the source survey is completed, using the information from the survey response. Select the operation required. Click Next.
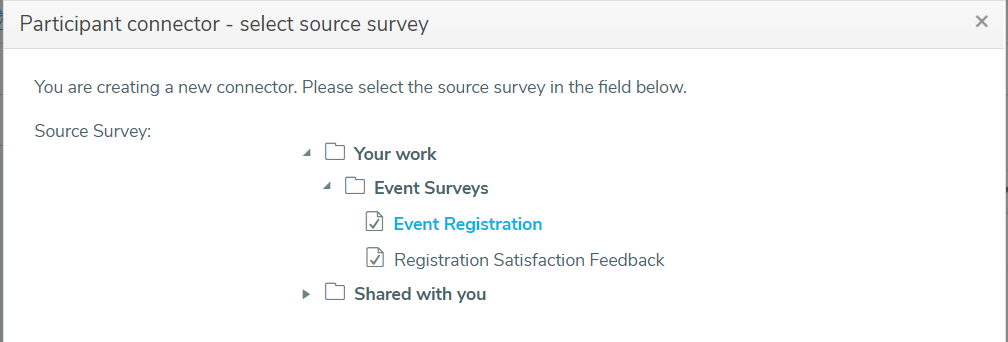
- Select the source survey. You can select a survey from your own surveys in Your Work or from surveys that are shared with you. Click Next.
- In the next page, you can select whether to send email invitations, assign a login and set up seeding. Click Next.
- If the option to seed email invitations is selected, the next page lets you set up seeding for the email invitation. Click Next.
- If the option to seed the questionnaire is selected, the next page lets you set up seeding for the questionnaire. Click Next.
- The next page contains a summary of all the options chosen for the Connector. Click Create to create the Connector.
- Once created, list of Connectors shows the new Connector.
Seeding the questionnaire
The questionnaire seeding maps a variable in the source survey to a variable in the destination survey. When you map a single-choice or multi-choice question, the connector uses the code index, which is the order of the code. It does not use the code label to cater for multi-language surveys.
When mapping a single-choice or multi-choice question from the source survey to one from the destination survey, the code order needs to match. If this is not the case, you need to create a derived variable in either survey to match the order that you need.
Enable or disable a Connector
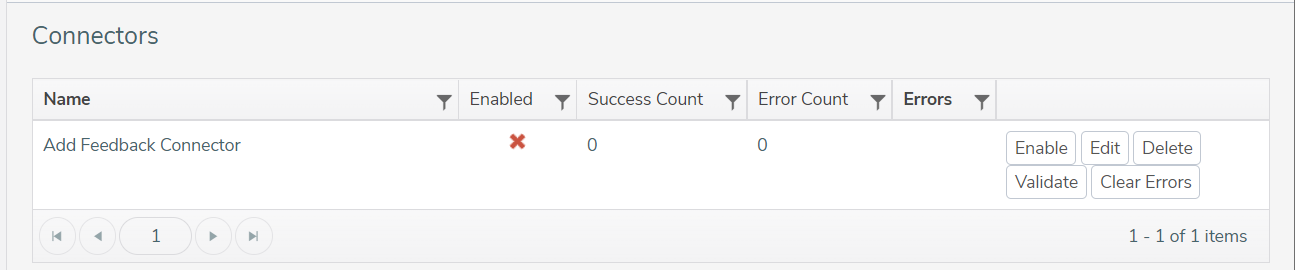
Initially, the default status of the Connector shows as disabled. You must enable the Connector before you can use it.
- In the list of Connectors, click Enable on the Connector row.
- Click Enable when you are asked to confirm.
- Click Finish when the confirmation message displays.
- The status of the Connector displays a green tick in the list of Connectors. A Disable button is now available to allow you to disable the Connector.

If you want to disable the connector, repeat the instructions, clicking the Disable button. The Connector row displays a red cross.
Editing a Connector
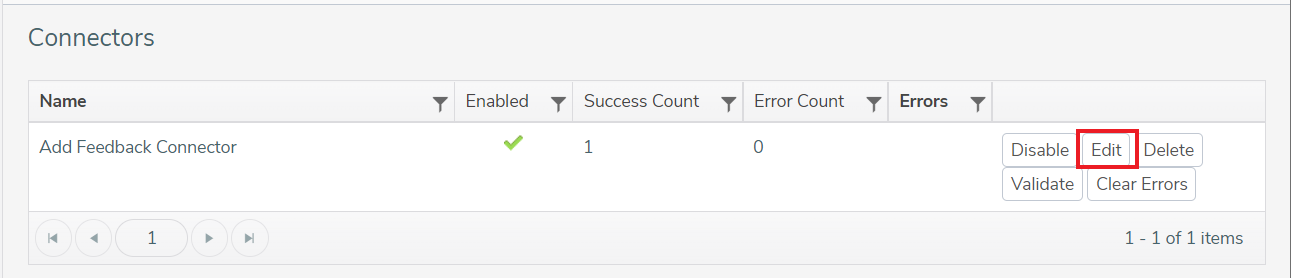
You can edit the operation and the seeding in the Connector. This also uses the Participant connector dialog.
- Find the Connector that you want to edit in the list of Connectors. Click the Edit button. This opens the Participant connector dialog containing the details of the selected Connector.
- There are 3 operations to choose from: Add participant, Edit participant, Delete Participant. This is the action that is taken when the source survey is completed, using the information from the survey response. Select the operation required. Click Next.
- The Connectors view displays the selected source survey. You cannot change the source survey. (If you require a different source survey you will need to create a new Connector.) Click Next.
- In the next page, you can view the survey options. You can change the source survey variable used for the email and login information. Click Next.
- If the option to seed email invitations is selected, the next page lets you change the source survey variable for seeding in the email invitation. You cannot add new seeding. Click Next.
- If the option to seed the questionnaire is selected, the next page lets you change the source survey variable for seeding in the questionnaire. You cannot add new seeding. Click Next.
- The next page contains a summary of all the options you have set up for the Connector. Click Update to update the Connector.
Deleting a Connector
When the Connector is no longer required, you have the option to delete it.
- Find the Connector that you want to delete in the list of Connectors.
- Click the Delete button.
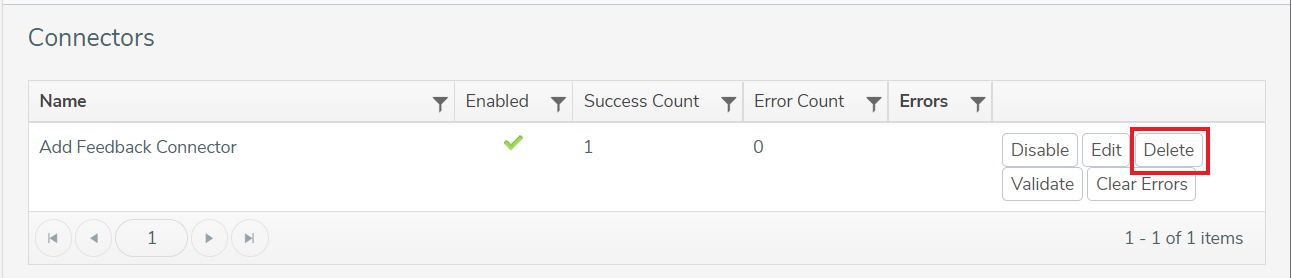
- This displays a message asking you to confirm the delete action. Click Delete to delete the Connector. This removes the Connector from the list of connectors.
Validation
In the Connectors section, there is the ability to validate an individual connector or validate all connectors.
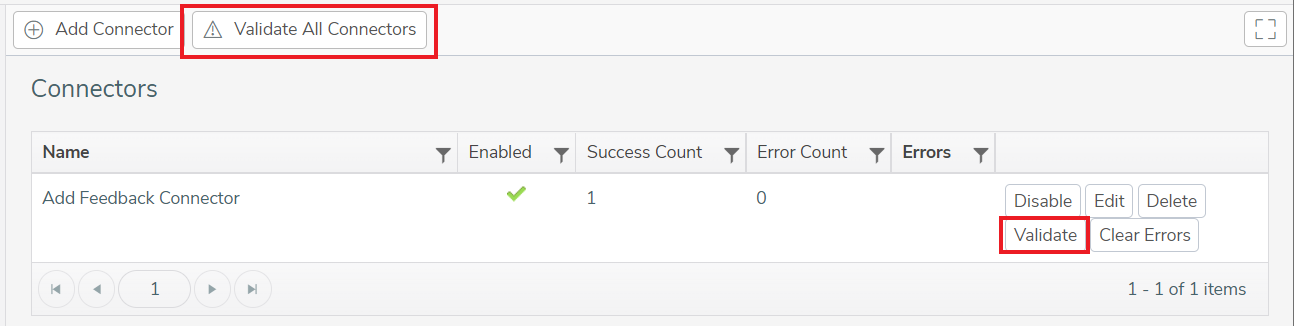
- To validate an individual connector, click the Validate button on the Connector row in the list of connectors.
- To validate all connectors, click the Validate All Connectors button at the top of the Connectors section.
A message displays showing whether the connectors are valid. Click OK to close the message.
Clear Errors
When you enable the Connector, the connector row may show errors because the connector is unable to create the participant from the response data of the source survey. The errors show in the list of Connectors, on the row of the Connector with the error.
- Find the Connector in the list of Connectors.
- Click the Clear Errors button.
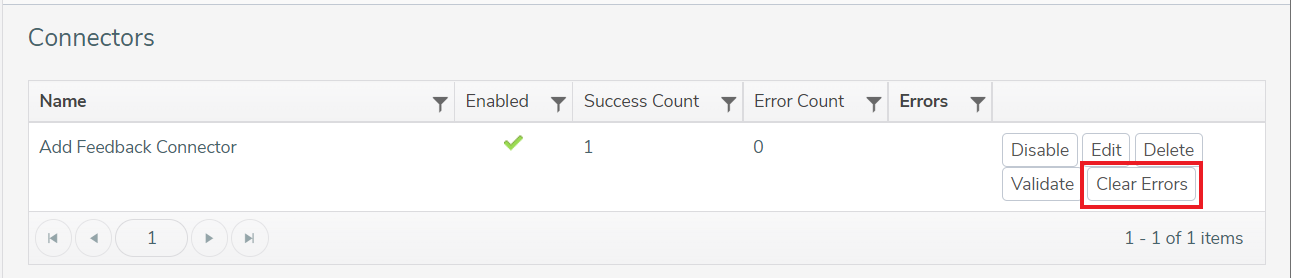
- This displays a message asking you to confirm the clear errors action. Click Clear to clear the errors for the Connector.
- The Errors column shows no errors and the error count shows 0 in the connector row.
Please note: A participant will not be created when there is a blank email address or login, but this will not be shown as an error.