Uploading participants from a spreadsheet
Uploading the file containing participant information lets you:
- provide the participants’ names and email addresses
- set up a requirement to login and seed the survey with participants’ login data
- seed the survey with other participants’ data that is used during completion
- create email invitations and reminders
The Upload Participants Wizard is used to set up participants for your survey and guides you through the following steps.
- Select the file containing the participant data. The accepted formats are CSV or Excel.
- Select whether you wish to link to participants, create email invitations and seed the survey with data.
- Choose whether to run this as a standard or group questionnaire.
- Define the email invitations and reminders.
- Specify the mapping between the survey variables and the data fields.
- Upload the participants in Snap XMP Online.
What you need in your file (for seed data, email invites and/or logins)
| To send emails | To login participants | To seed data into your survey |
| A unique email address for each respondent | A unique login for all participants (this can be their email address) | A database field for each survey variable that you want to load with data |
This table shows the required elements for each database record for the different operations.
| Unique email address | Unique participant login | Participant password | Fields containing data | |
| Send email invitations | ||||
| Participants login | Emails do not have to be unique for login | If required | ||
| Seed data |
An example of an Excel database file is shown below.

This data file contains
- unique email addresses used to send email invitations
- user names and password data used for participant logins
- two columns that contain seed data, First name and Age
Note: Age is a single choice question and the data refers to the codes
Upload participants using the Upload Participants Wizard
Use the Upload Participant Wizard to add your participants to the survey.
- Open your survey in Snap XMP Online and from the Summary tab navigate to the Collect section.
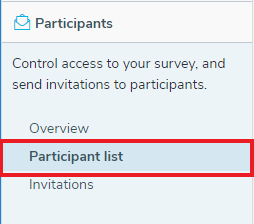
- Select the Participants side menu to view the participants and invitations. The Participants Overview is selected by default.
- Click on the Participant list menu item to view the participants.
- Click on Upload Participants to open the Upload Participants Wizard.
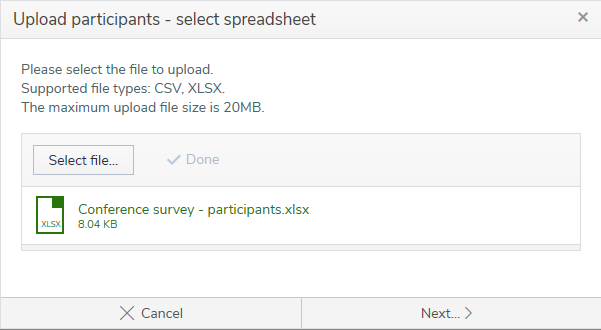
- On the first page, click Select file to add the file with the participants’ data. The accepted formats are CSV and XLSX. Click Next.
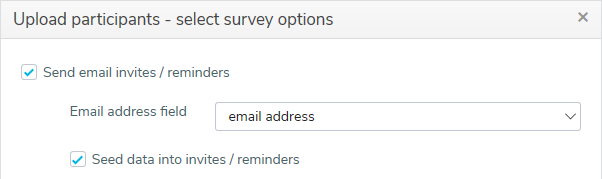
- On the next page, select the survey options for sending email invitations
- If you want to invite the participants by email
- Select Send email invites/reminders
- In Email address field, select the spreadsheet column that contains the email address for the participants. This field is required and Snap XMP Online attempts to match the most likely column.
- Select Seed data into invites/reminders if you want to seed data into the invitations, such as, name or surname, which can personalize the message.
- If you do not want to use email invitations
- Clear Send email invites/reminders. This disables the Email address field and Seed data into invites/reminders checkbox.
- On the same page you can set whether to track respondents using login details or to create an anonymous survey.
- If you want to track your respondents
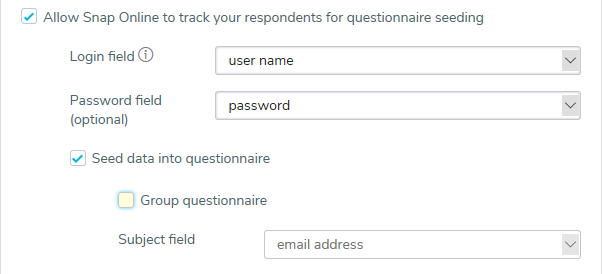
- Select Allow Snap Online to track your respondents for questionnaire seeding
- In Login field, select the spreadsheet column that contains the Login for the participants. This field is required and needs to be unique as it is used to track the participant. Snap sets the default as the first column in the spreadsheet.
- In Password field, select the spreadsheet column that contains the Password for the participants.
- Select Seed data into questionnaire when your spreadsheet contains data that you want to default into the questionnaire as the participant is completing it.
- Select Group questionnaire if you are running a group questionnaire. This is covered in the Group questionnaire section.
- If you want to run an anonymous survey
- Clear Allow Snap Online to track your respondents for questionnaire seeding. The other fields in this section become disabled.
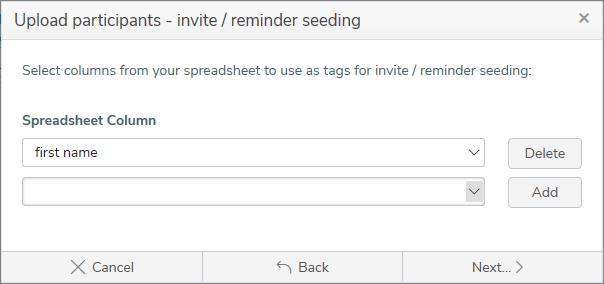
- Click Next. If you have selected Seed data into invites/reminders the next page lets you set this up.
- Select a spreadsheet column from the Spreadsheet Column list and click Add next to the selected column. This adds another field below. Repeat for all the columns you need for your invitations and reminders.
- Click Next. If you selected Seed data into questionnaire the next page lets you set this up.
- Select a spreadsheet column from the Spreadsheet Column list then select the question to seed from the Snap Variable list
- Click Add next to the row. This adds another row below. Repeat for all the columns you need for your questionnaire seeding
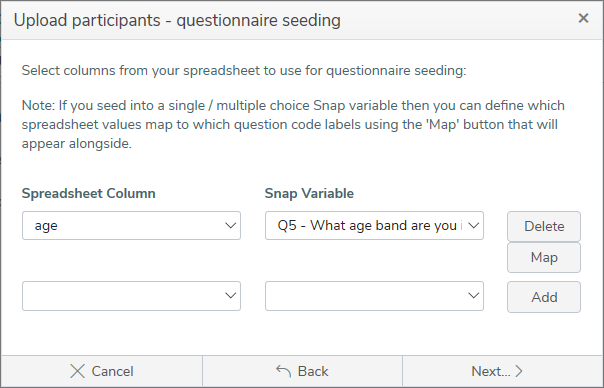
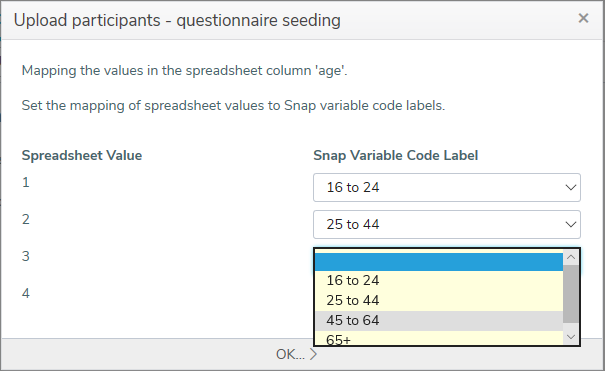
- In Single and Multiple Choice questions you can map values found in Spreadsheet Column to the code labels in Snap Variable. For each Spreadsheet Value select the corresponding Snap Variable Code Label. Click OK when you have finished returning to the wizard.
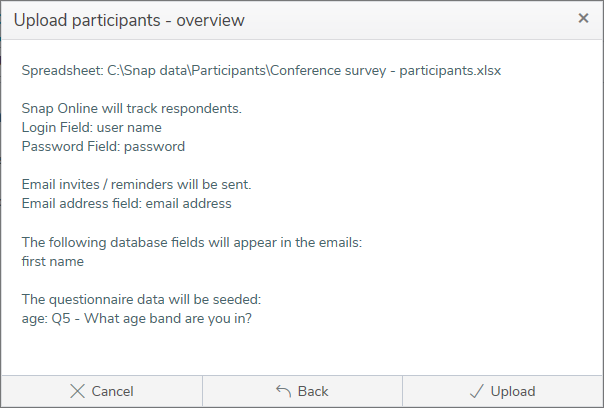
- Click Next. The overview summarizes the chosen settings for you to review.
- Click Upload to upload the participants to the survey. The results are displayed when the upload is complete.
Updating the participant data
During interviewing you may want to update the participants who are responding to your survey. This is done using the Upload Participants Wizard.
- Open your survey in Snap XMP Online and from the survey’s Summary navigate to the Collect section.
- Select the Participants side menu to view the participants and invitations. The Participants Overview is selected by default.
- Click on the Participant list menu item to view the participants.
- Click on Upload Participants to open the Upload Participants Wizard.
The first page gives three options to update the participants
| Option | Description |
|---|---|
| Add new participants only | Participants in the spreadsheet that are not already in the list will be added. The survey options for sending invitations and tracking the response cannot be changed. |
| Update participants | Participants in the spreadsheet that are in the list will be updated (seeding properties will also be replaced). Participants in the spreadsheet but not in the list will be added. The survey options for sending invitations and tracking the response cannot be changed. |
| Replace all participants | New participants will be added. Participants in the spreadsheet that are in the list will be updated (seeding properties will also be replaced). Participants that are in the list but absent from the spreadsheet will be deleted. Existing response data will NOT be deleted. The survey options for sending invitations and tracking the response can be changed. |
| Delete participants | All current participants will be deleted. The response data will NOT be deleted. |
- Select the option you require then click Next. The wizard shows the same pages as described in the Upload Participants Wizard section.