Setting up email alerts
Snap XMP Desktop allows you to set up email alerts when a participant’s response meets a condition while completing the survey. An email alert is an email that is sent to a specific email address if a particular answer is selected.
You can use alerts to:
- notify specific people or departments depending on survey results.
- send a specific email depending on various conditions (for example, the age of the participant or where they live).
You can:
- include data from the survey in the email.
- send the email to an address that was given as a response.
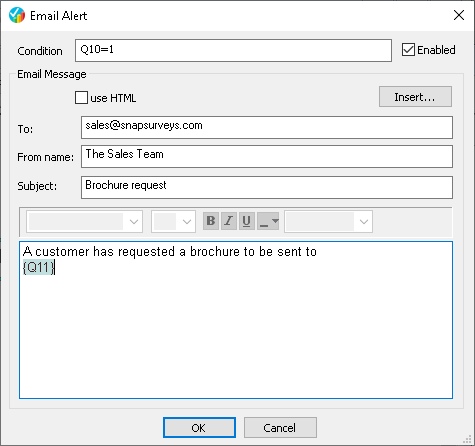
For example, if someone expresses an interest in buying a new car, you could send an email to a salesperson, or if someone is not satisfied with the food, you could send an email to the chef.
The emails are sent when the response is submitted.
You can set up email alerts using using the Alerts option in the Questionnaire Properties. For each email that you choose to send you can set up:
- The address that you are sending it to
- The text of the email (which can include the participant’s previous answers to questions)
- The conditions that trigger an email alert. (Conditions use “if” statements, in the same way as in routing and filtering.)
You can send emails in plain text or in HTML format. HTML emails allow you to set the text to be bold, italic or underlined. You can also insert HTML codes directly into your email.
Creating a new alert
-
In the Questionnaire window, click Questionnaire Properties
 . This opens the Questionnaire Properties dialog.
- Select Alerts in the Section panel to display the email alerts.
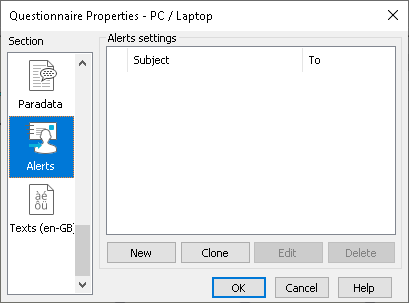
- Click New to create a new alert. This opens the Email Alert dialog.
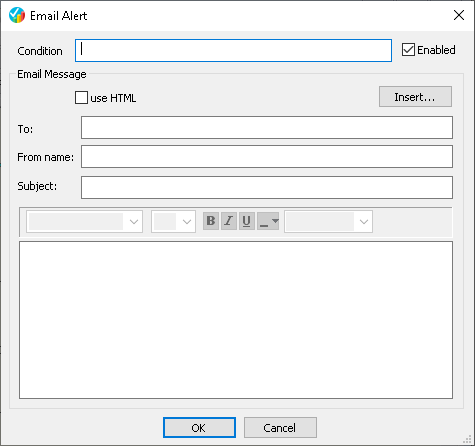
Creating the alert email
- In Condition, enter the criteria triggers an email to be sent. If you do not include a condition, the email will always be sent.
- Clear the Enabled checkbox if you wish to disable the alert.
- Select the use HTML box to use HTML formatting, including font type, style and colour, or any HTML code.
- In To, enter the address of the person who will receive the email. If you wish to send to multiple recipients, separate each email address with a semi-colon. You can also use the Insert button to insert an email address variable from the questionnaire, allowing the alert to dynamically populate the email address) using text substitution. In this way, the respondent could receive an email alert confirming their response submission. The field will show the variable in curly brackets {}.
- In From name: enter the sender name for the email.
- In Subject, enter the subject of your email in the Subject field.
- Enter the content of the email. You can use the Insert button to insert variable fields from the questionnaire (for example, the date, site, etc) in the email body as well as the To, From name and Subject fields. If you insert the answer for a coded question it will display the appropriate answer label. The variable field has curly brackets {} to show that it is a variable.
- Click OK to save your settings. The alert is added to the list of alerts
You will need to publish your questionnaire for the email alerts to become active, when the email will be sent each time a response is submitted that meets the condition for the alert.
Editing and deleting existing alerts
- In the Questionnaire window, click Questionnaire Properties
 . This opens the Questionnaire Properties dialog.
 - Select Alerts in the Section panel to display the email alerts.
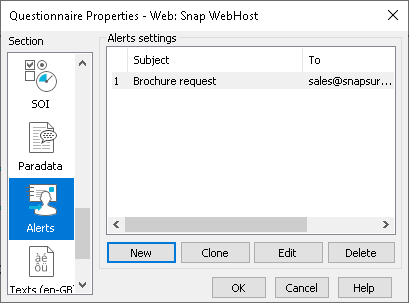
- Select the alert you wish to change.
- There are three actions available:
- Click Edit to modify the email alert.
- Click Clone to create a copy of the email alert.
- Click Delete to delete the email alert.