Anonymisation in Surveys – Sending an email that includes a unique participant identifier
When distributing surveys, you can track whether a given participant has responded and if not, send them reminder emails.
You may need participants to log in to ensure that they only complete a questionnaire once, or to enable Snap XMP Online to keep track of the responses. To set up a login page, you must have a known list of participants and they must each have a unique ID that they use to log in. In Snap XMP Online, you must set this up in the participants file.
To make life simple for participants and help to increase your response rate, the email invitations can contain a link to the survey that, when clicked, automatically logs the participant into the survey.
Tracking the participant using a unique identifier in Snap XMP Online
What you need
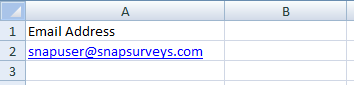
- A unique email address for each participant. You can also add additional fields to personalise your email invite or to provide login details.
Uploading the participants
- Open your survey in Snap XMP Online and from the survey’s Summary click on the Collect link.
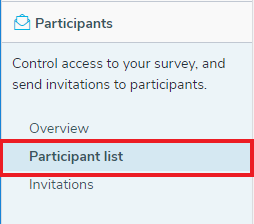
- Select the Participants side menu to view the participants and invitations. The Participants Overview is selected by default.
- Click on the Participant list menu item to view the participants.
- Click on Upload Participants to open the Upload Participants Wizard.
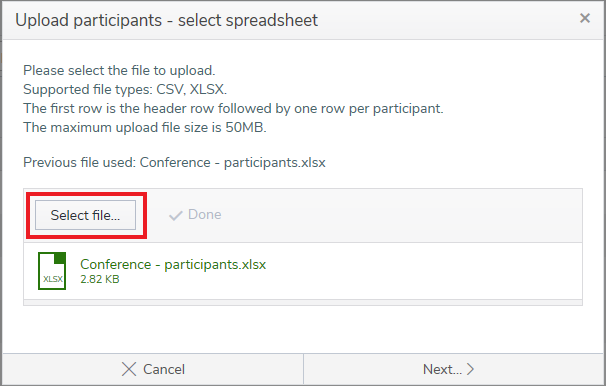
- On the first page, click Select file to add the file with the participants’ data. The accepted formats are CSV and XLSX. Click Next.
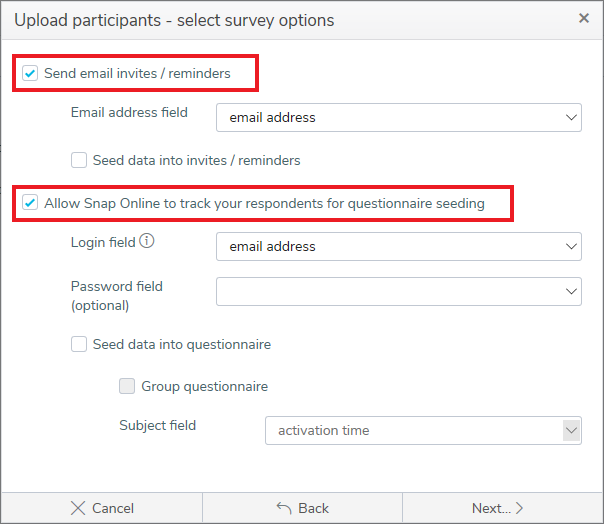
- Select the survey options for sending email invitations and using logins.
- Select Send email invites/reminders to be able to send email invitations and reminders.
- In Email address field, select the spreadsheet column that contains the email address for the participants. This field is mandatory and Snap XMP Online attempts to match the most likely column.
- Select Seed data into invites/reminders if you wish to seed participant data into the invitations and reminders.
- Select Allow Snap Online to track your participants for questionnaire seeding. This allows you to track your participant when they have responded.
- In the Login field, select the spreadsheet column that contains the login for the participants. This field is mandatory and Snap XMP Online attempts to match the most likely column.
- Click Next. The overview summarizes the chosen settings for you to review.
- Click Upload to upload the participants to the survey. This displays the results when the upload is complete. Click Finish to close the wizard.
Change interview access
- In the Participants side menu, select Overview. This displays the participants settings and is available after you have uploaded the participant list.
- Click Change interview access to change the interview access settings. This opens the Interview access dialog.
- Select the Identify participants in the response data to include an identifier in the response data.
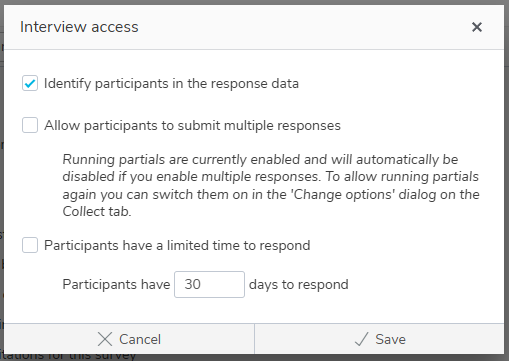
- Click Save to save the changes. This updates the settings in the Participant overview.
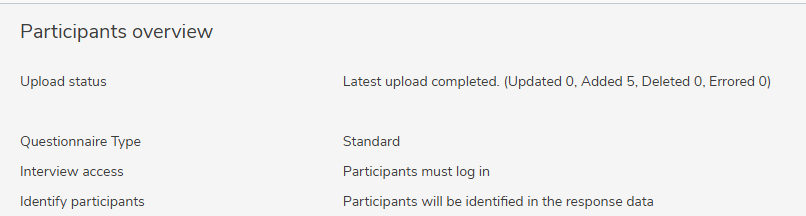
The Interview access setting shows that the participants must log in. The Identify participants setting shows that the logged-in participants will be identified in the response data.
Creating the email invitation
- Click on the Invitations menu item to view the email invitations and reminders.
- Click Add Invitation to create an email invitation in the Email Editor.
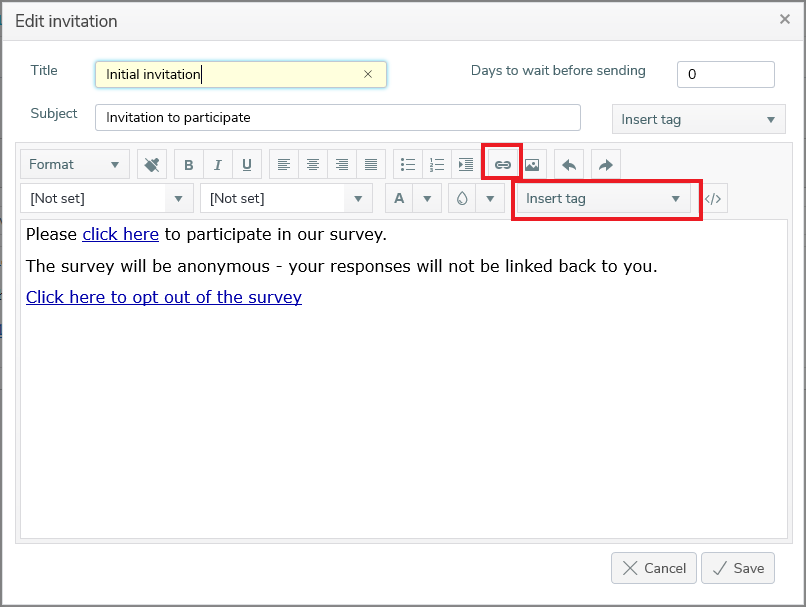
- Add a heading in Subject.
- Type the email message in the message area.
- Click Insert tag to add a SurveyLinkAuto link. This provides a link for the participant to access the survey and must be included in the email message.
- You should also include a link enabling your participants to opt out of the survey. Click Insert tag and select the OptOut link.
- The link text can be customised by clicking Insert hyperlink
 .
.
- You can manage the list of participants in Snap XMP Online.
If there is a topic you would like a tutorial on, email to snapideas@snapsurveys.com