Running the Summary report to context
Every survey in Snap XMP Desktop contains a Summary report. You can use any question in your survey that contains a department, site, location or similar information as a context for your report. This lets you create a report for each of your departments, sites, locations or other contexts.
This worksheet shows you how to run the Summary report to context and produce a report output for each context.
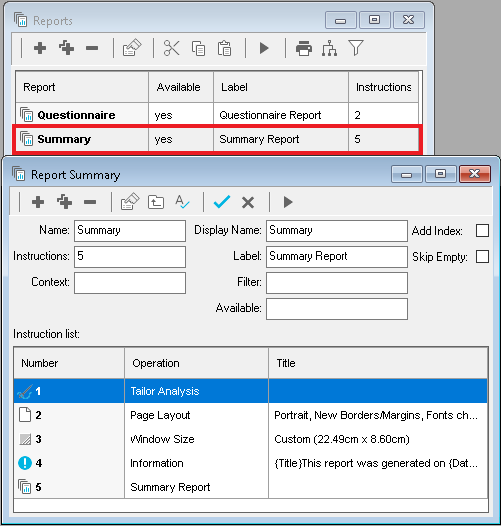
Step 1: Open the Summary report
- Click
 on the Snap XMP Desktop toolbar to open the Reports window.
 - Double click the Summary report. This opens the Report Summary, including the instruction list, for the Summary report.
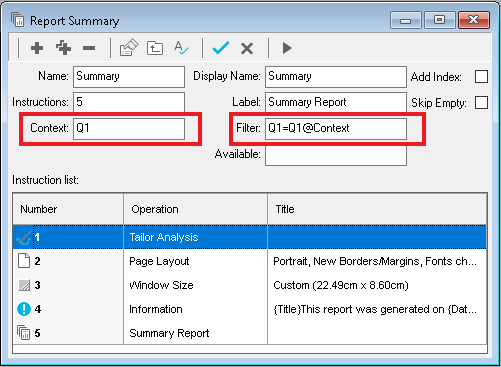
Step 2: Set up the context
- In Context, enter the question name that contains the context. In this example, the question Q1 contains a location and the report will be created for each location. (It makes life simpler if your variables have meaningful names. For example, you can change the name from Q1 to Location in the Variables Details window.)
- In Filter, enter Q1=Q1@Context. This filters each report using the current context.
-
Click
 to save the changes.
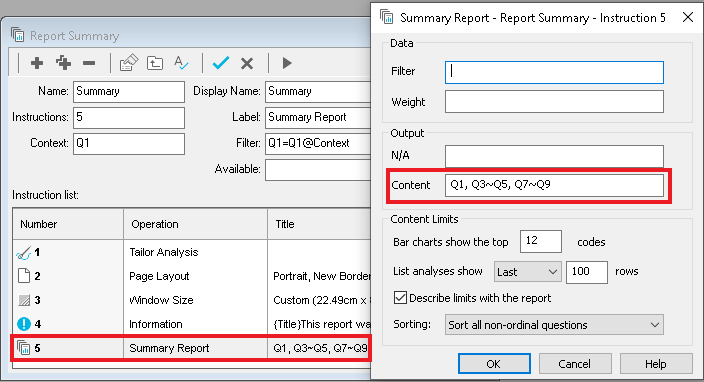
Step 3: Choose the questions that appear
You can set the questions that are displayed in the report. This can be useful to exclude any questions that ask for personal details, such as, name or email address.
- In the Report Summary, double click on the Summary Report instruction (number 5).
- In Content, enter the list of questions that are shown in the report. In the example, Q1 and Q3 to Q5 and Q7 to Q9 are included.
-
Click OK to save the content to the instruction then click
 to save the report.
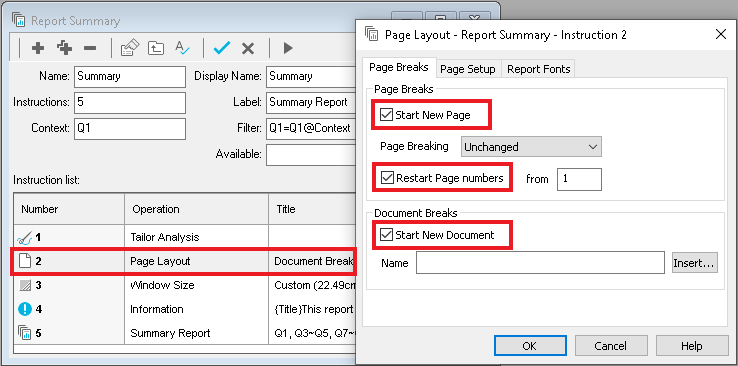
Step 4: Create a document for each context
You can create a document, for example, as a PDF, for each context by editing or adding a Page Layout instruction. This instruction should be at the start of the report.
- In the Report Summary, double click on the Page Layout instruction (number 2).
- In the Page Layout, select Start New Page, Restart Page numbers and Start New Document. This sets the report up to create a new document for each context.
-
Click OK to save the Page Layout instruction then click
 to save the report.
Step 5: Run the report
-
In the Report Summary, click
 to open the Report Execution dialog.
- Choose your preferred output, either printing to a printer or to files, or exporting to one of the available formats.
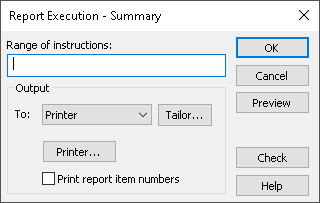
- Click OK to run your report. This produces a copy of your output for each context, such as location.