Designing your scanning questionnaire
The Scanning survey template is designed for scanning questionnaires and it is recommended that you use this for all your scanning surveys. This survey template also provides instructions at the start that will help your participants complete the questionnaire and improve the scanning accuracy.
Add an image
The new questionnaire created using the supplied Scanning survey template contains an image placeholder and a title question.
- Double click the logo placeholder to open the Image Properties dialog.
- Click Browse to find the logo then click Open to show it in the dialog.
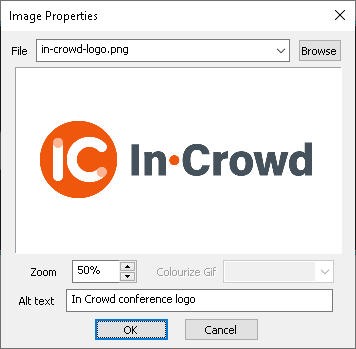
- Use Zoom to alter the size of the logo; Colourize Gif to change the color of the image (if available) and Alt text to provide alternative text for the image.
- When you’ve made your changes, click OK to return to the questionnaire
-
Click
 to save the changes to the questionnaire.
Add the title and sub title
A questionnaire usually includes a heading together with text to explain its purpose and how it should be completed. When a new questionnaire is created using the Scanning survey template, you are prompted for a title and then a sub title.
- In the area marked “Enter your Title here”, enter the title of your questionnaire. The style displayed at the top of the window is set to Title.
- Press the down arrow to move to the sub title that is included in the Scanning template. The Sub Title style is displayed on the toolbar.
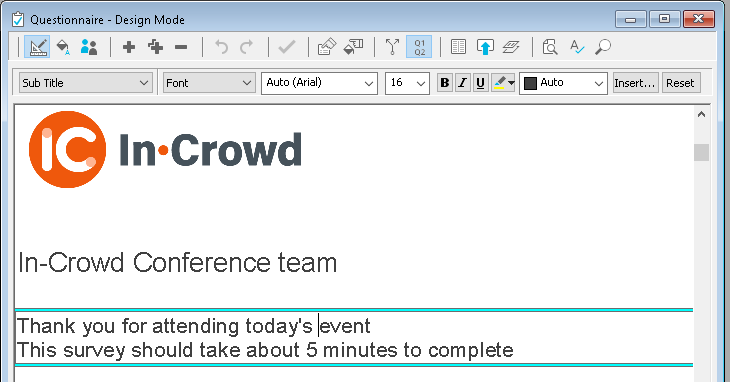
- Type your sub title text.
The text of the sub title will automatically move onto a new line as the first line is completed. If you want to force a new line as part of the text of the title or sub title, use the key combination Shift + Enter.
Add a single choice and multiple choice question
The Scanning survey template includes a Single Choice question as the first question in the questionnaire. A Single Choice question allows the respondent to select one answer; a Multi Choice allows for multiple answers.
- The first question is a Single Choice question. In the area marked Enter your question text here type the question Have you attended this event before? Press the down arrow to select the code label and type Yes then repeat with the next code entering No.
- Press Ctrl + Y to delete any remaining codes.
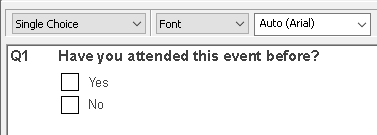
- Press Enter to create a new Single Choice question.
- Change the style to Multi Choice by choosing Multi Choice in the Style selection drop down menu. The shape of the response boxes are the same for Single and Multi Choice questions in the scanning template.
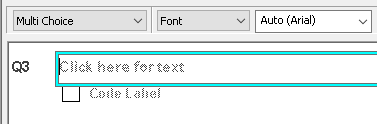
- An area is marked “Click here for text”. Type your question text here.
- Press the Tab key on your keyboard and the cursor moves into an area by the first box. Type the first of your answer codes. Press Tab to create and move to the next line.
- Continue with the text for the other items and press Tab after each one.
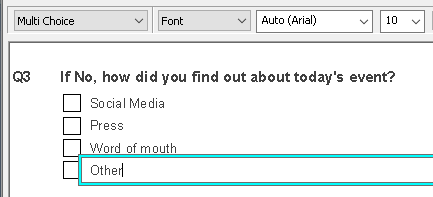
- Press Enter to start a new question or Ctrl + Enter if you wish to add an “Other” to the question.
Including an “other” question
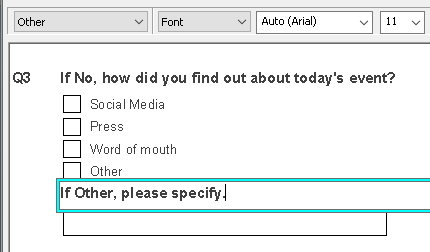
When you are creating a list of items it is likely the list will not contain every answer and you may want to collect further information from the respondent. Snap has its own style called Other to collect such text, and is designed in such a way that it appears as part of the main question with its list of codes.
- When you complete your list of choices, press Ctrl + Enter to add an Other style question after the Multi Choice question. The style of an Other question contains a question text label and a text box for free format comments.
- In the area marked “Click here for text”, enter your question text.
- To make the text box larger press Ctrl + +. Press Ctrl + – to make the box smaller.
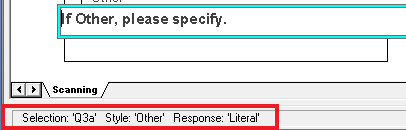
The question number is not displayed but can be identified in the notification area of Snap XMP Desktop.
Add a grid question
A Grid is made up of a series of Single Response questions, which have exactly the same choice of answers, organised in grid rows. Often they ask for people’s attitude towards something. A grid can be set up using the styles Grid First and Grid Next.
- Press Enter to create a new question.
- In the style selection drop down list change the style to Grid First. This will allow you to set up the headings for the first of a series of grid questions.
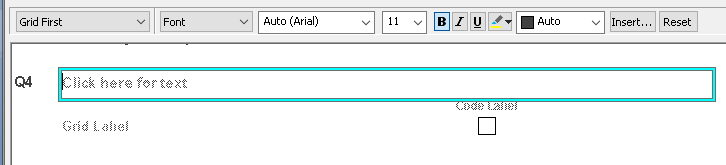
- In the area marked Click here for text, type your question text, for example “Focusing on today’s event please rate the following…” Press the Tab key on your keyboard.
-
The cursor will now move to the list of codes across the top of the first grid question. Type the first of the possible answers, such as “Good”. Press Tab to create the next code. Type each subsequent answer and follow each by pressing Tab. After the last code press
 instead of Tab.
- The cursor will move to the text of the first Grid Label. Type the first item, such as “Speed of service” and press Tab.
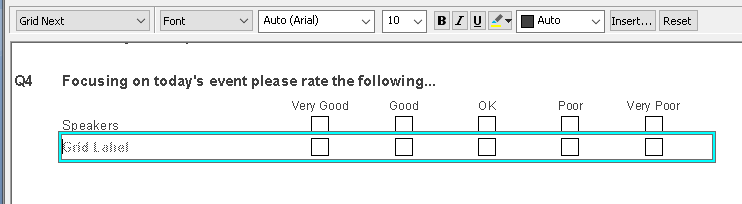
- This creates the next grid row automatically changing the style to Grid Next for the second and subsequent rows. Type the next Grid Label.
- Press Tab to create another grid row or press Enter to complete the grid and move to a new question.
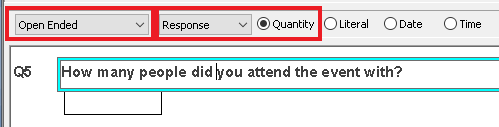
Add an open ended quantity question
The next question asks the participant how many people they attended the event with. This requires an Open Ended style question so a number has to be entered.
- In the style selection, change the style to Open Ended to allow any character or number to be entered in the box.
- In the field marked Click here for text, type How many people did you attend the event with?
- By default, open-ended questions have a response type of literal. This means that any characters can be entered in the box. To ensure that respondents enter a number, change the response type to Quantity. This allows calculations on the response.
-
Click Variable Properties
 to show the list of variable properties. Change the Data Length and the Box Length to 2 which restrict the number entered to 2 digits.
- Change the number of Decimal Places to 0 as a whole number is required.
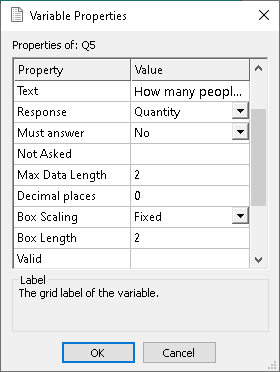
- Click OK to return to the questionnaire.
- Press Enter to start a new question.
Allow for any free format comments
An Open Ended question is used to collect free format text, number, date or time. A common use is to provide space for general comments.
- In the style selection, change the style to Open Ended.
- Click on the box that reads Click here for text and type in your question text.
- Set the Response to Literal. This will allow you to enter free format text as a reply.

- To make the box bigger hold down the Ctrl key and press the + key. Press Ctrl and – to make the box smaller.
- Press Enter to start a new question.
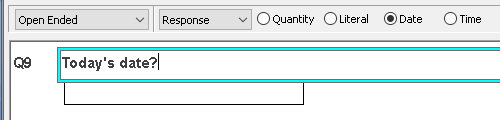
Adding a date question
Adding date and time question uses the Open Ended style of question.
- In the style selection, change the style to Open Ended.
- Click on the box that reads Click here for text and type in your question text.
- Set the Response to Date. This allows only dates to be entered.
-
To make the box bigger hold down the [Ctrl] key and press the [+] key. Press [Ctrl] and [-] to make the box smaller.