Designing the questionnaire
Snap XMP comes with a large number of different question styles. These range from multi-choice questions to open questions, from free text to numeric answers, from titles and subtitles to notes and instructions.
They are all available for use in Snap XMP Desktop. We have developed a sample questionnaire that shows the different question styles. You can use this questionnaire to see how the questions behave in a live interview.
Snap XMP Desktop comes with style templates that have been created for particular tasks. The Default Web style has been designed for web surveys and includes all the buttons, the colors, the background, the fonts, the drop down lists and the layout for a basic web survey. The survey templates can be customised to your organisation’s requirements. There are also default styles for use on tablets and phones
Add a logo
The new questionnaire created using the supplied survey template named Blank Template contains an image placeholder and a title question.
- Double click the logo placeholder to open the Image Properties dialog.
- Click Browse to find the logo then click Open to show it in the dialog.
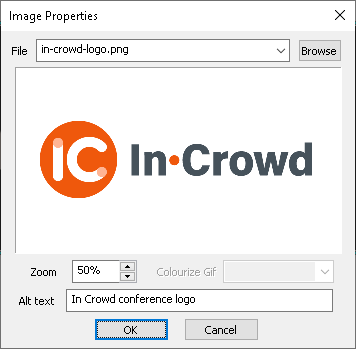
- Use Zoom to alter the size of the logo; Colourize Gif to change the color of the image (if available) and Alt text to provide alternative text for the image.
- When you’ve made your changes, click OK to return to the questionnaire
-
Click
 to save the changes to the questionnaire.
You can add additional images by creating a new title or subtitle question and clicking Insert | Image to open the Image Properties dialog.

Add the questionnaire title
A questionnaire usually includes a heading together with text to explain its purpose and how it should be completed. When a new questionnaire is created using the Blank Template, you are prompted for a title and then a sub-title.
- In the area marked “Click here for text”, enter the title of your questionnaire. The style displayed at the top of the window is pre-set to Title.
- Press Enter when you have set up your title. A subtitle area is displayed automatically. The Sub Title style is displayed on the toolbar.
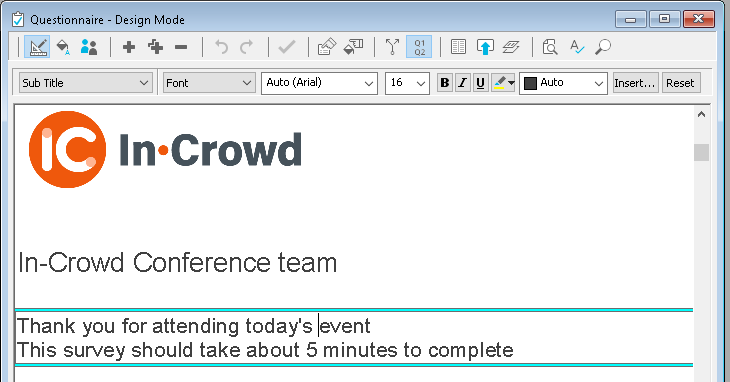
- Type your subtitle text then press Enter.
The text of the sub-title will automatically move onto a new line as the first line is completed. If you want to force a new line as part of the text of the title or sub-title, use the key combination Shift + Enter.
Add your first multiple-choice question
Multi Choice questions are ones where the respondent can select one or more responses from a list.
- After you’ve entered the subtitle and pressed Enter, Snap automatically creates the first question. Otherwise press Enter to start a new question after the currently selected question. By default, this is created as a single response question and the question style is shown as Single Choice on the toolbar.
- Select the dropdown list on the toolbar where it says Single Choice and change it to Multi Choice by choosing Multi Choice in the Style selection drop down menu. The shape of the response boxes changes from a radio button to a square.
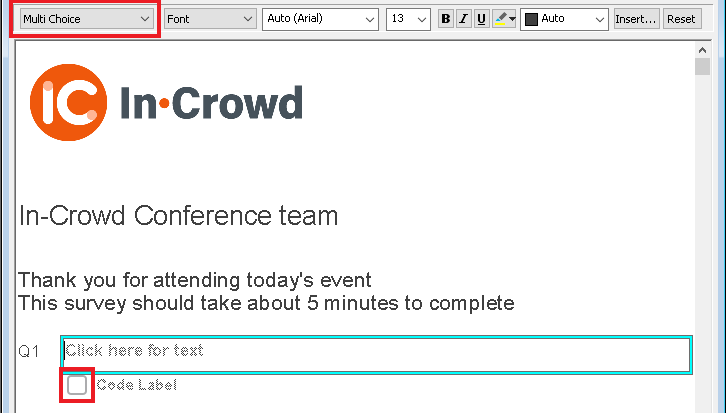
- An area is marked “Click here for text”. Type your question text here.
- Press the Tab key on your keyboard and the cursor moves into an area by the first box. Type the first of your answer codes. Press Tab to create and move to the next line.
- Continue with the text for the other items and press Tab after each one.
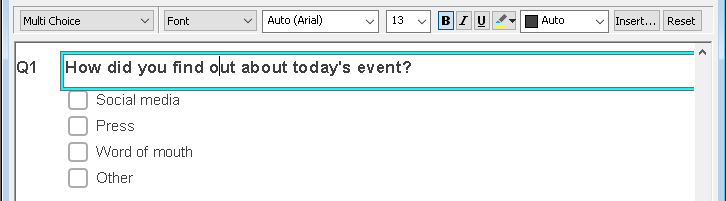
- Press Enter to start a new question or Ctrl + Enter if you wish to add an “Other” to the question.
Including an “other” question
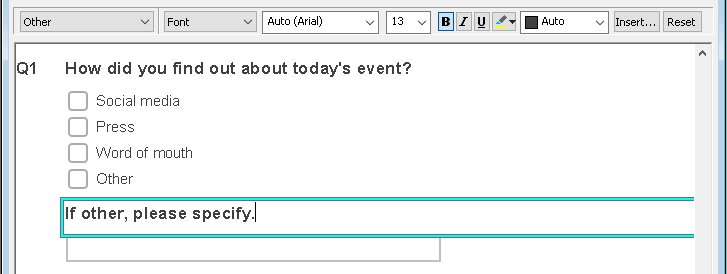
When you are creating a list of items it is likely the list will not contain every answer and you may want to collect further information from the respondent. One of the supplied question styles is called Other and is used to collect such text. It is designed to appear as part of the main question with its list of codes.
- When you complete your list of choices, press Ctrl + Enter to add an Other style question after the Multi Choice question. The style of an Other question contains a question text label and a text box for free format comments.
- In the area marked “Click here for text”, enter your question text.
- To make the text box larger press Ctrl + +. Press Ctrl + – to make the box smaller.
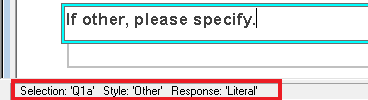
The question number is not displayed but can be identified in the notification area of Snap XMP Desktop.
Add a grid question
A Grid is made up of a series of Single Response questions, which have exactly the same choice of answers, organised in grid rows. Often they ask for people’s attitude towards something. A grid can be set up in Snap XMP Desktop using the styles Grid First and Grid Next.
- Press Enter to create a new question.
- In the style selection drop down list change the style to Grid First. This will allow you to set up the headings for the first of a series of grid questions.
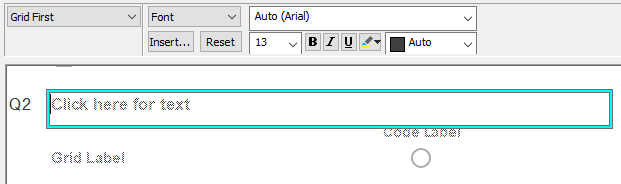
- In the area marked Click here for text, type your question text, for example “How did you rate the following?” Press the Tab key on your keyboard.
-
The cursor will now move to the list of codes across the top of the first grid question. Type the first of the possible answers, such as “Good”. Press Tab to create the next code. Type each subsequent answer and follow each by pressing Tab. After the last code press
 instead of Tab.
- The cursor will move to the text of the first Grid Label. Type the first item, such as “Speed of service” and press Tab.
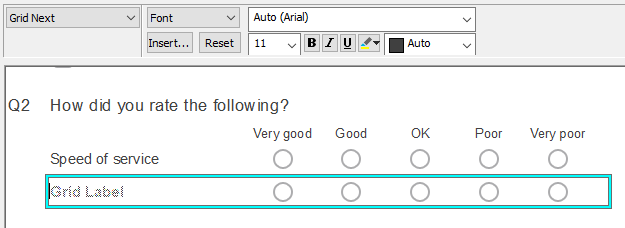
- This creates the next grid row automatically changing the style to Grid Next for the second and subsequent rows. Type the next Grid Label.
- Press Tab to create another grid row or press Enter to complete the grid and move to a new question.
Allow for any free-form comments
An Open Ended question is used to collect free format text, number, date or time. A common use is to provide space for general comments.
- Press Enter to create a new question.
- In the style selection drop down list change the style to Open Ended. This will allow you to enter free format text as a reply.
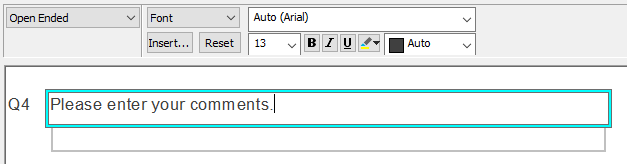
- Use Click on the box that reads Click here for text and type in your question text.
- To make the box bigger hold down the Ctrl key and press the + key. Press Ctrl and – to make the box smaller.
Pick a question from the SurveyPak library
SurveyPaks contain frequently used questions that can be copied directly to a questionnaire, enabling you to re-use questions in different surveys. After adding the question, it can be edited within the questionnaire. The SurveyPaks are available from the Reference window.
-
Click
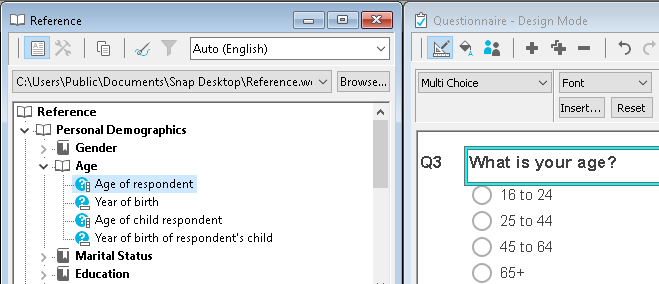
 on the main toolbar to open the Reference window. Select Window | Tile so that the Reference and Questionnaire windows are arranged side by side. (Make sure any other windows are closed first).
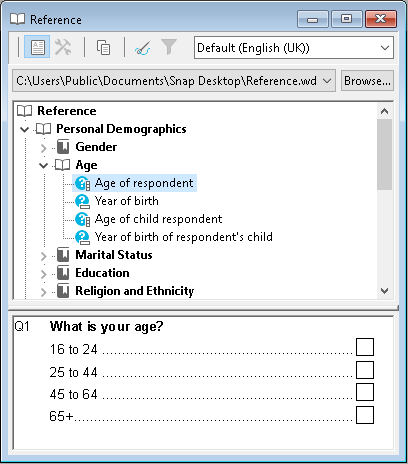
- Click the Personal Demographics category in the Reference SurveyPak.
- Click the Age topic to display a number of age related questions then highlight the first age question Age of respondent. The question is displayed in the bottom part of the window.
- Drag the question from the SurveyPak into the questionnaire. As you move the pointer over the questionnaire, the mouse pointer changes:
-
 insert the new question before this question.
 -
 replace this question with the new one.
 -
 insert the new question after this question.
-
- The new question is inserted in the position indicated and adopts the same look and feel defined in your questionnaire. You can make changes to the text or add, edit or delete codes in the list.
-
To move your Age question, click anywhere on the question. An aqua border appears around the question. You can use the Ctrl +
 or Ctrl +
 to move the question. The question is automatically renumbered as you move it.
-
Click
 to save the questionnaire.
Add some page breaks
When you are creating a web survey, it is important that respondents do not miss any questions because they are not immediately visible. Inserting a page break starts a new page and separates the questions onto different pages. To introduce a page break you have three alternatives. When a respondent completes the survey they will see buttons at the bottom of each page that help them navigate through the survey.
- Click on a question to select it.
- There are 3 ways to add a page break:
- Click the right hand mouse button and select Break|Page Break
- Press Ctrl + Shift + B to insert a page break above the selected question
- Select the Break option and check or clear the Page Break box.

- Repeating the action toggles the break on and off.
-
When you’ve added the page break, click
 to save the changes to the questionnaire.
Add routing instructions
In your questionnaire you often want to ask certain questions to specific groups of respondents only rather than all respondents. This is usually based on the answers they have already selected in previous questions.
Question routing sets up the questionnaire so respondents are only asked questions relevant to them during completion. Questions that are not relevant to them are skipped.
- The multiple choice question, Q1, has an Other open ended question, Q1a. This is only going to be shown when the Other value is selected in Q1. This is achieved using routing.
-
Click Routing Rules
 on the Questionnaire toolbar. The Routing Rules dialog is shown.
- Click Add to create a new routing rule. The New routing instruction dialog is shown.
- In Type, select Conditionally Ask Question click OK.
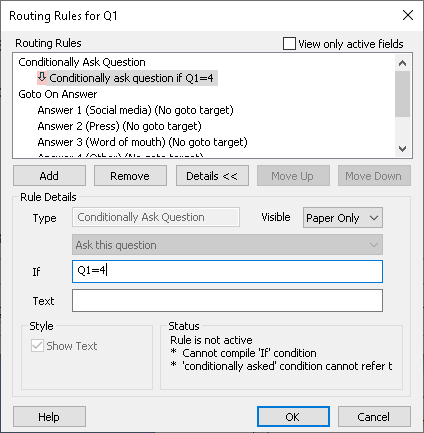
- In the If field, enter Q1=4. The Other question Q1a will only be shown when the Other value is selected in Q1.
- Click OK to save the routing rule.
- A small arrow appears to the left of the question. Double-click the arrow to edit the routing rule.
-
Click
 to save the changes to your questionnaire.