Defining the clickable area
When you have imported the image, you need to define the areas that you want to associate with the questions codes.
You define the clickable areas of the map control in the Designer tab of the Map Control Editor.
Set the pen style
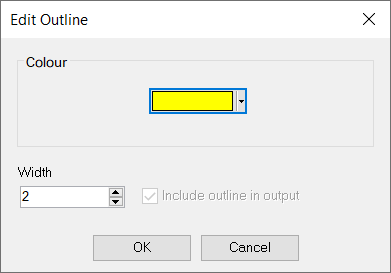
After loading the map control or image, the default pen style is a 2 pixel wide yellow line.
You can change the pen style, by clicking the Pen icon ![]() or selecting Shape | Format | Outline pen. This opens the Edit Outline dialog where you can set the colour and width of the pen style.
or selecting Shape | Format | Outline pen. This opens the Edit Outline dialog where you can set the colour and width of the pen style.
Choose the shape
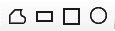
Next, choose the type of shape to draw the outline. You can
- Click the appropriate toolbar button.
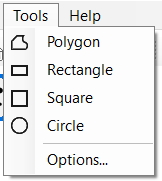
- Select the shape from the Tools menu.
If you want to draw several areas of the same shape type, double-click the toolbar shape icon. Click a shape icon again to go back to normal mode.
Define the clickable area
If you are drawing a regular shape, click and drag to create it.
If you are drawing a polygon, click at each point of the shape you wish to create before moving to the next point. Right-click to close the polygon. You can rotate the polygon when it is complete.