Attaching files to a question using AttachIt
AttachIt is a feature available in online questionnaire editions, such as PC/laptop, mobile and tablet. With AttachIt, you can create a questionnaire that contains one or more AttachIt questions. These questions allow a participant to attach a file as a question response when they are completing the survey.
When created in Snap XMP Desktop, the question can specify the type of file expected where the choice is Photo, Audio or Signature; or specify a file of any type.
The participant attaches the file during an interview using Snap XMP Online or Interviewer. The file has a unique identifier that connects it to the particular question and response. When the responses are submitted, they can be downloaded as zip files which contain either individual files, all the files, or files grouped by question or response.
Unit usage
Each attached file will use at least 1 unit, with up to 1MB counting as 1 unit.
For example:
- a 0.4 MB file would count as 1 unit
- a 7 MB file would could as 7 units
This is in addition to the unit usage for the completed response.
Adding an AttachIt question
The AttachIt feature is a type of data picker that is added to an open ended question. It allows participants to attach files to their responses.
- In Snap XMP Desktop, open the survey in the Questionnaire window and select the online edition of the questionnaire.
- Click New Question to create new question which will contain the AttachIt feature.
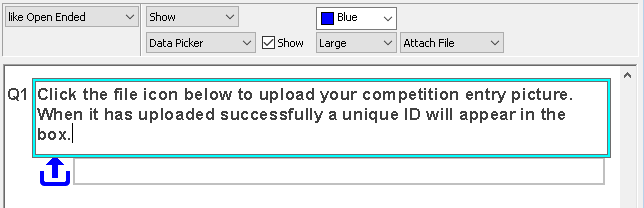
- Select the Open Ended style to create an open ended question. By default, the question requires a literal response. In the question text, it is a good idea to include instructions on how to upload a file.
- Select Show in the toolbar topics.
- Select Data Picker in the next list then select Show.
- Select Attach File instead of Keyboard in the list. If you are creating a mobile survey for use on the Interviewer app, you can select Attach Photo, Attach Signature or Attach Audio. Choosing Audio will provide you with up to 1 hour of recording time. Choosing Signature enables the option for respondents to electronically draw on the touch screen of the mobile device being used for interviewing. Please note that the AttachIt signature is only available on the Interviewer app and not via a browser.
- You can change the appearance of the AttachIt icon. Select the icon size to show in the questionnaire; choose from Small, Medium, Large or Extra Large. Select the color to display the icon.
- The question is added to all the editions in the questionnaire. However, the AttachIt feature has to be set in each online edition, such as tablet and phone. You may wish to hide the question in any paper editions.
Setting the picture size for the Interviewer app
When Attach Photo is used in an Interviewer questionnaire you can set the image size of the attached photos. The file size of an image depends upon the camera used and the how the image is stored. The bigger the image, the more space it takes up on the device and the longer it takes to sync to Snap XMP Online.
The Interviewer app compresses the image to a fixed size according to the longest dimension. You can keep the original image size by selecting Original.
- In the Questionnaire window, click Questionnaire Properties.
- In Section, select SOI. This is only available for online editions.
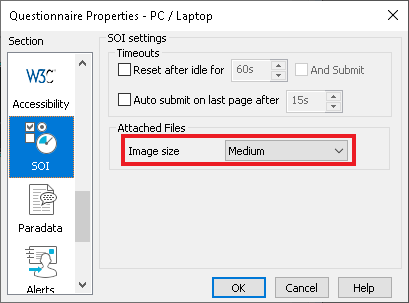
- Select the required Image size.
- Click OK to save your changes.
- Click Save to save the changes to the questionnaire.
Testing the AttachIt question
The questionnaire must be published before the AttachIt feature can be tested.
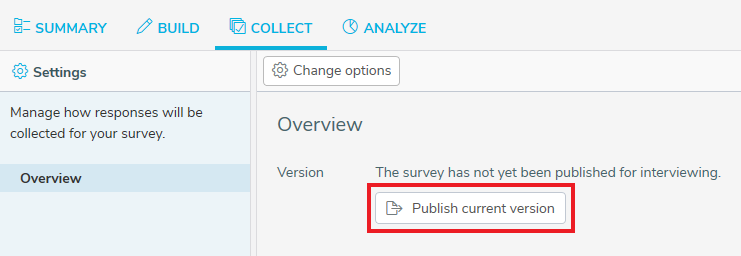
- In Snap XMP Online, open the survey in Your work. In the survey’s Summary tab, click the Collect link.
- In Overview, click the Publish current version button to publish your survey. Click OK to confirm that you want to publish the survey
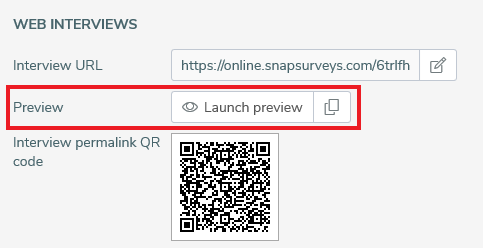
- Click the Launch preview button. This opens the questionnaire in a new browser tab.
- The test starts with a notice stating that this is a survey preview and responses entered in the preview will not be saved and will not affect the survey results. Click the message” I understand – start the preview” to proceed.
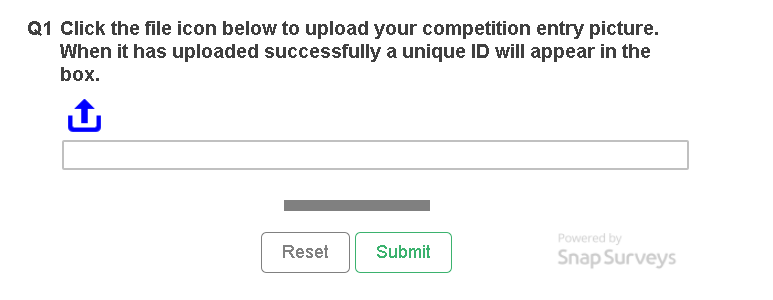
- Click the Attach File icon. This shows a Select file dialog. Click Choose File to browse for the required file.
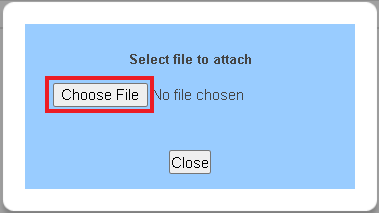
- In the file browser, select the required file and click Open. A unique reference is shown in the Select file dialog.
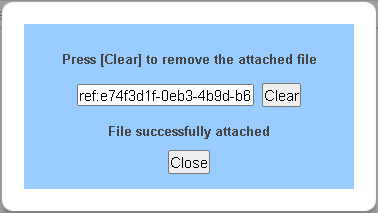
- Click Close. The unique ID now appears in the question response field. This identifies the attached file as this participant’s response to the question.
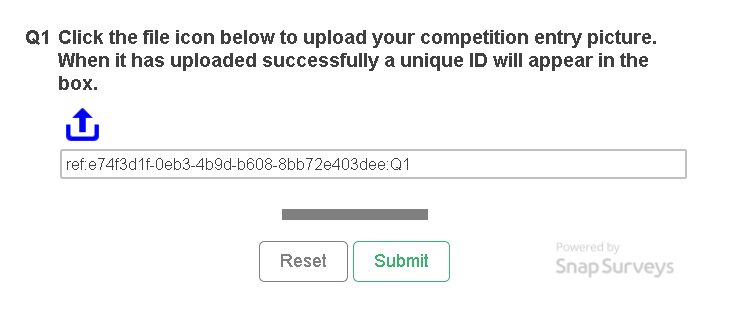
- Click Submit to complete the test questionnaire.
When you have tested the questionnaire, you are ready to start interviewing. When the participant is completing the questionnaire they will attach the file as described in steps 5 to 8.
Downloading the attached file responses
When participants have attached files to the response, these files can be downloaded from Snap XMP Online.
- In Snap XMP Online, open the survey in Your work. In the survey’s Summary tab, click the Collect link.
- In Collect, click Responses then click Attachments. The Attachments menu is only shown when there are attached files available.
- Click Download all attachments to download a compressed zip file containing all the attached files.
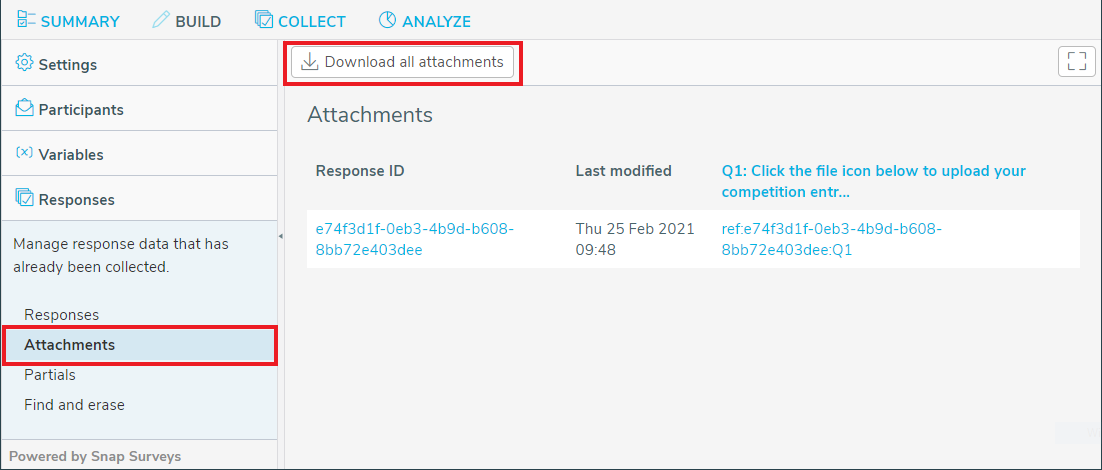
- Click the Response ID link to download all the attached files for the response. There may be more than one question with an attached file.
- Click the question link to download the attached files for that specific question or the attached file link to download an individual file.
In Snap XMP Desktop, the reference given to the file attached to the question response is shown in the Data Entry window.
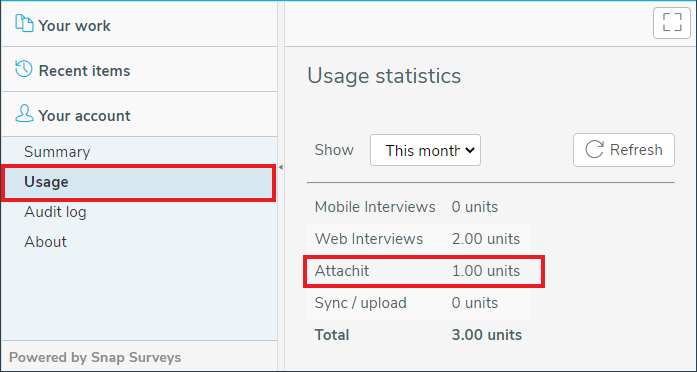
Usage stats for AttachIt
In Snap XMP Online, you can see how many AttachIt units your account has used. The number of AttachIt units shows the number of attached files for the surveys running on your account.
- In Snap XMP Online, click Your Account.
- Click Usage to view the Usage statistics including the AttachIt units.
- In Show, choose the time range then click Refresh.