Adding a running header, footer or margin text in your report
If you wish to have graphics in your header or footer, it is best to create them at the correct size before you start creating your report.
You can place a running header or footer in your report by using a Page Layout instruction. This also allows you to put thumb text in your report. (This is text that runs vertically in the margin of your report).
- Click Reports
 on the Snap XMP Desktop toolbar to open the Reports window.
 - Double-click to open the report where you want to add a header or footer.
- Click New Instruction
 and click Page Layout.
 - In the Page Layout dialog click the Page Setup tab and select the Headers, Footers and Thumb text check box.
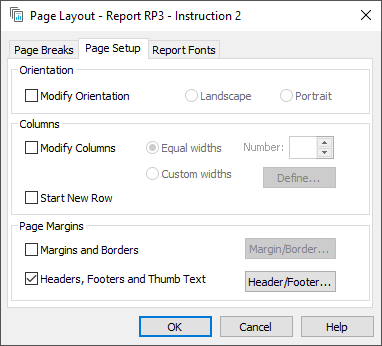
- Click Header/Footer to open the Header/Footers dialog. It opens with the default values shown.
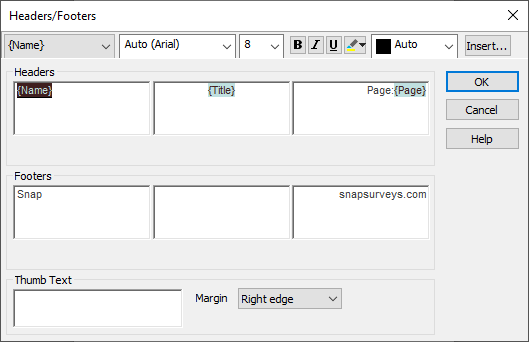
The header and footer each consist of the three areas (left, centre and right). The header or footer may contain:
- free format text
- survey fields (auto text)
- date and time of printing/publication
- images
The contents can be formatted using the format buttons and fields at the top of the dialog to set the font name, size, style and color. The justification is fixed for each area.
Inserting a field
Click Insert to add the following fields:
| Image | This opens the Insert Image dialog. Select an image file from the File box or click Browse to find an image. Images can be of type JPG, GIF or BMP. |
| Variable field | This opens the New Variable Field dialog. Select the Variable, Aspect and Modify case. |
| Survey field | This opens the New Survey Field dialog. Select the Survey field from the Field box and select the case for displaying from the Modify case box. |
| Date/Time field | This opens the New Date or Time dialog. Select the Publication Date or Publication Time from the Type box. Select the formatting check boxes, as required. |
Thumb text
Thumb text runs from bottom to top in the margin. You can use it to include titles for different parts of your report. By default it appears in the right margin of every page.
- In the Thumb Text box type the text you want to appear.
- In the Margin box select the position of the thumb text.
Position of thumb text | Margin |
In the right margin | Right Edge |
In the left margin | Left Edge |
Alternate sides, starting on right | Outside Edge |
Alternate sides, starting on left | Inside Edge |