Visitor Check-In Tool guide
This product is no longer available for new registrations. This guide is for customers who have previously downloaded this product.
Welcome your visitors and keep track of their details easily to support contact tracing, such as the NHS Test and Trace service, during the pandemic.
To help businesses and organisations operate smoothly during coronavirus restrictions, we’ve created a Visitor Check-In Tool that will help you capture and store the data of anyone who enters your premises. You are able to take their details upon arrival to support contact tracing during the pandemic.
Step by step guide
This guide will take you through the steps for the Visitor Check-In Tool:
Step 1: Building the Visitor Check-In Tool
Step 2: Share the Visitor Check-In Tool using the link or the QR code
Step 3: Ask people who come to your premises to complete the Visitor Check-In Tool
Step 4: Use your data to support contact tracing and data protection
Step 1: Building the Visitor Check-In Tool
After logging in to Snap XMP Online you are ready to build the Visitor Check-In Tool
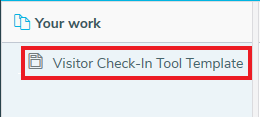
- The first page in Snap XMP Online shows a summary of Your Work. The Visitor Check-In Tool Template is available here. Templates are shown with the icon
 . Click the icon or template name to show the template Summary.
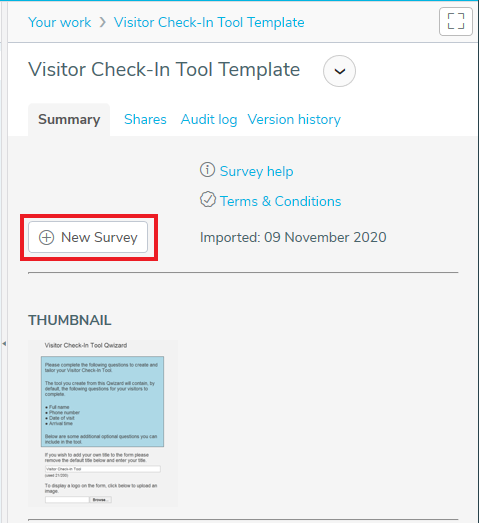
- In the Summary, click New Survey. You can also access the survey help, and the terms and conditions here.
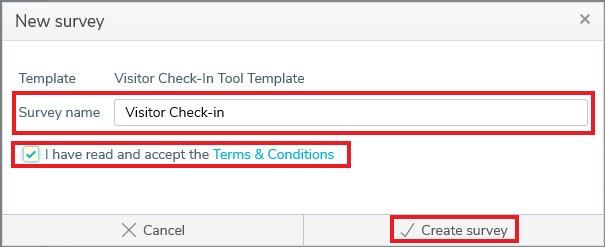
- Enter the survey name; select the checkbox to confirm that you have read and accept the terms and conditions then click Create survey.
- This shows the Visitor Check-In Tool. Follow the on screen instructions to build your Visitor Check-In Tool. There are some questions that are always included in the Visitor Check-In Tool. Details are given in the on screen instructions. There are a number of optional features including changing the default title; entering your organisation’s name and logo; and adding a departure time question.
- Select the options you require. When you have completed the questions, click Build Tool to build the Visitor Check-In Tool.
Making changes to your Visitor Check-In Tool
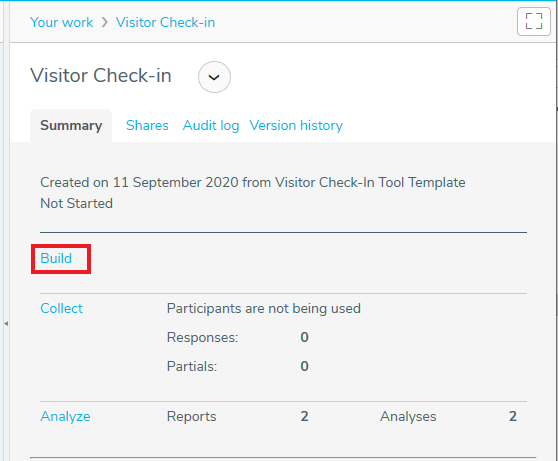
- Select the Visitor Check-In Tool, if it is not already selected. In the Summary tab, click the Build link.
- This displays the read-only view of your Visitor Check-In Tool. There are three options available:
- View shows the read-only version of your Visitor Check-In Tool
- Edit lets you make basic changes to specified wording and the logo. You can edit the shaded areas shown between curly brackets { }. Click on the word or image to edit.
- Rebuild runs the Visitor Check-In Tool again. This allows you to change your initial choices by selecting or clearing the options. This is not available if you have already started collecting responses.

- Click Save to save any changes you have made. Click Cancel to cancel any changes and return to the original version. The read-only version is shown.
Step 2: Share the Visitor Check-In Tool using the link or the QR code
The next step is to test and share the Visitor Check-In Tool with your visitors.
Viewing the interview settings
- Select the Visitor Check-In Tool, if it is not already selected.
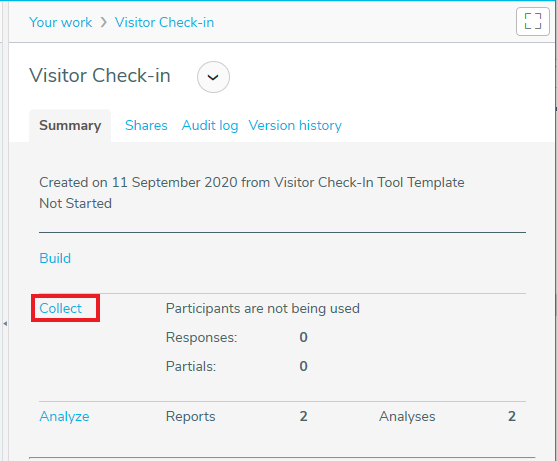
- In the Summary tab, click the Collect link. The Interview URL link and the QR code are available here.
Testing the Visitor Check-In Tool
- Click Launch Preview. This opens a test version of the Visitor Check-In Tool.

- Test the Visitor Check-In Tool by completing it with different responses to check that it works the way you want. Your test responses are not saved and do not affect your data.
- When you are happy with it you can start collecting your visitors’ responses.
Start Interviewing
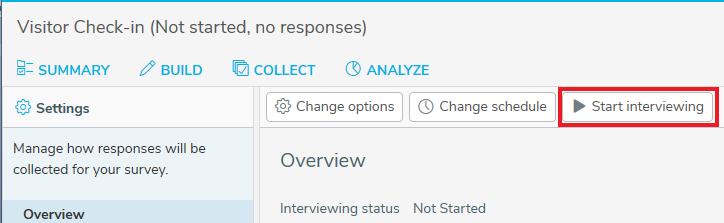
- Click Start Interviewing and click Start when you are asked to confirm.
- Now you can send the Interview URL link and/or QR code to anyone who pre-books an appointment or you can give them to people on arrival at your premises.
Making the Interview URL available
- Click Copy URL to clipboard to copy the Interview URL link.

- Open your web browser, paste the link into the search bar at the top of your browser and press Enter. This loads the start page of the Visitor Check-In Tool.
- Alternatively, open your email application and paste the link into an email to send to your visitor.
- If you wish to include the Interview URL link in a printed sign for your visitors, paste it into a document and print.
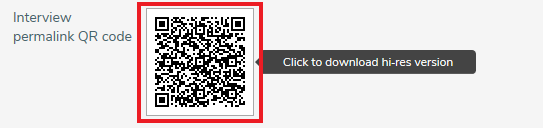
Making the QR code available
- Click the QR code image to download the QR code to your device.
- The web browser shows a notification when the file has downloaded. Click on the notification to open and/or save the QR code.
- The QR code can be used in a printed sign for visitors to use or attached to an email sent to your visitor. The minimum size for a printed QR code is 2cm by 2cm.
Step 3: Ask people who come to your premises to complete the Visitor Check-In Tool
When someone arrives at your premises ask them to use the link or QR code to fill in the check in form.
Starting the Visitor Check-In Tool using the QR code
- Using the QR code can quickly open the Visitor Check-In Tool on your visitor’s smartphone. Many smartphones, such as iPhones or Android devices, have an in-built QR code reader in the camera app.
- Open the camera app and point the camera at the QR code for a few seconds. When scanning is enabled a notification appears. Tap the notification to open the link.
- Alternatively, a QR code reader app can be installed on the phone. Follow the instructions for the app.
Starting the Visitor Check-In Tool using the Interview URL link
- If your visitor has an email with the Interview URL link, ask them to click this link to open the Visitor Check-In Tool.
- Alternatively, open a web browser app and enter the Interview URL in the search bar of the browser. Press Enter to open the Visitor Check-In Tool.
Completing the Visitor Check-In Tool
- Ask your visitor to answer the questions and click Submit.
- They will receive a notification to confirm that their response has been submitted.
Step 4: Use your data to support contact tracing and data protection
A Visitor Check-In Tool Report and an Information sheet are available to help manage the response data and help fulfil your responsibilities for both contact tracing, such as NHS Test and Trace, and data protection legislation, such as GDPR.
You may want to access the data for two reasons:
- When there is concern that a visitor has COVID-19 or shows signs of COVID-19, you will need to access the data to give to the contact tracing authorities, as required.
- When data protection legislation requires you to securely dispose or delete visitor data after a specified length of time.
Managing your visitor data
- Select the Visitor Check-In Tool, if it is not already selected.
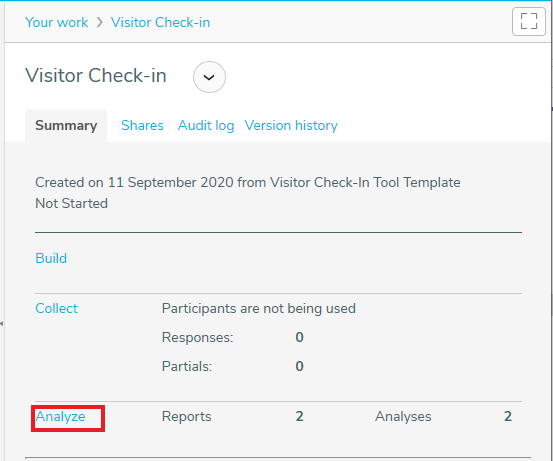
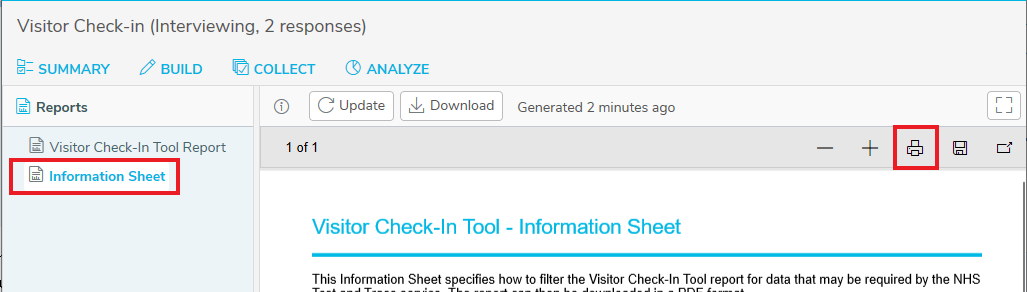
- In the Summary tab, click the Analyze link. The Visitor Check-In Tool Report and Information sheet are available.
- We recommend reading the Information sheet first which explains how to erase data or filter data required by the contact tracing authorities. To print the Information Sheet, click on the Information Sheet link then click Print
 .
.
- To view your visitor data click on the Visitor Check-In Tool Report. Click Update to get the latest data.
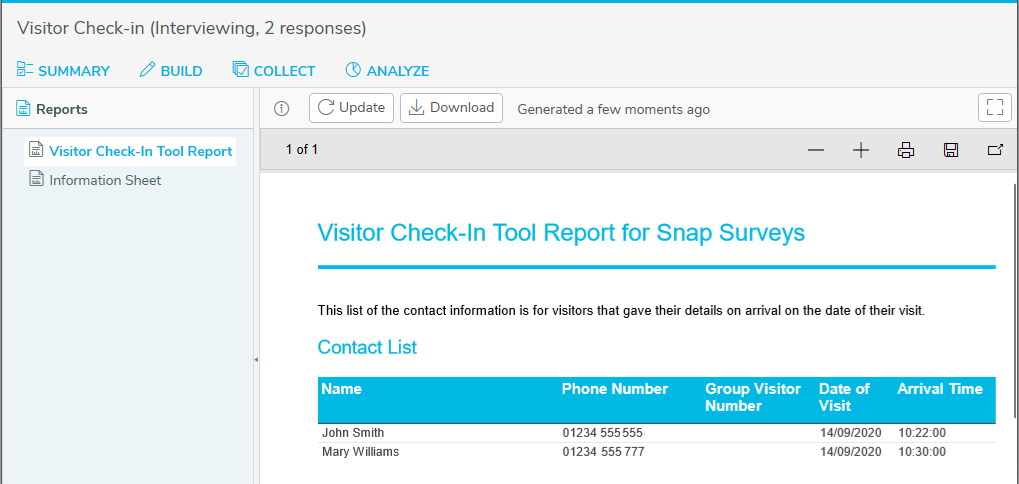
- Click Download to create a PDF version of the report.