Event Experience Survey guide
The Event Experience Survey allows you to build surveys that ask your customers how satisfied they are with different aspects of your event. The surveys contain a number of questions to help you understand how your customers are feeling about their experience at your event. There is the opportunity to add questions that are specific to your organisation. These include a Net Promoter Score measure, a selection of questions to choose the different aspects of the event, such as registration process, speakers or catering, and the opportunity to add your own statements and choose demographic options. In addition, you can choose to ask for customers’ contact details and set up email alerts. You can choose to end with the Snap Surveys thank you page or your organisation’s own page.
The responses to your survey will help you understand how your customers feel, assisting you in improving your event.
Step by step guide
This guide will take you through the steps for the Event Experience Survey:
- Step 1: Download the Event Experience Survey from the Marketplace
- Step 2: Building the Event Experience Survey
- Step 3: Share with your customers using the link or the QR code
- Step 4: Ask your customers to complete the Event Experience Survey
- Step 5: Use your data to improve your event
Step 1: Download the Event Experience Survey from the Marketplace
To download a pre-built survey from the Marketplace you will need to have a Snap XMP Online account. Follow the steps below to access the survey by either creating a new account or by logging into your existing account.
- Go to the Marketplace here: https://www.snapsurveys.com/marketplace. If you have any problems, copy and paste or type the link into your web browser search bar.
- Select the Event Experience Survey from the list of pre-built surveys available.
- Click Get started for free. This automatically opens the Snap XMP Online login page.
- If you do not already have an account, you should click the link Create a Snap XMP Online account, enter your details and click Create account. An email will be sent to the email address confirming that the account has been created. Click the link in the email to verify the email account. Then once logged in you will see that the survey is listed in the Your work area.
- If you already have an account, you simply log into your account and the survey will automatically be imported.
Step 2: Building the Event Experience Survey
After logging in to Snap XMP Online you are ready to use the Event Experience Survey.
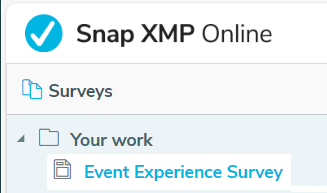
- The first page in Snap XMP Online shows a summary of Your Work. The Event Experience Survey template is available here. Templates are shown with the icon
 . Click the icon or template name to show the template Summary.
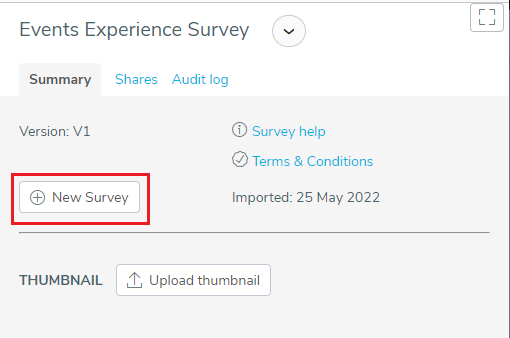
- In the Summary, click New Survey. You can also access the survey help, and the terms and conditions here.
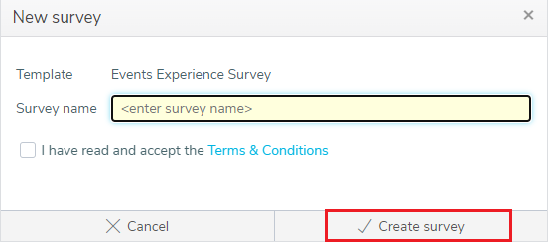
- Enter the survey name; select the checkbox to confirm that you have read and accept the terms and conditions then click Create survey.
- This opens the Event Experience Survey setup which helps you to create your survey. Follow the on screen instructions to build your survey. You have the opportunity to choose to use a Net Promoter Score measure and to add a range of satisfaction ratings questions. Click Next to progress through each step.
- On each page, select the options you require and click Next to go to the next page. When you have completed the questions, you are shown a summary. Click Next to proceed with your choices or click Back if you wish to change anything.
- Click Create Survey to build the Event Experience Survey.
Making changes to your Event Experience Survey
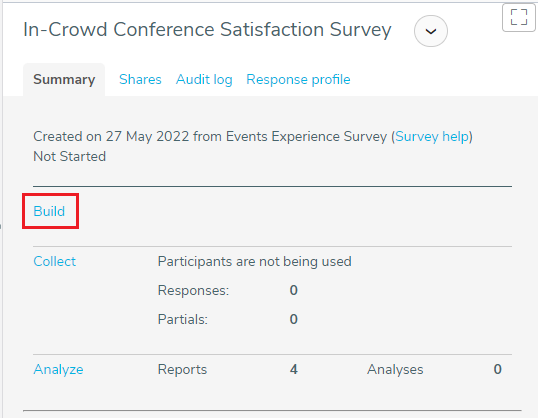
- Select the Event Experience Survey, if it is not already selected. In the Summary tab, click the Build link.
- This displays the read-only view of your Event Experience Survey. There are three options available:
- View shows the read-only version.
- Edit lets you make basic changes to specified wording and the logo. You can edit the shaded areas shown between curly brackets { }. Click on the word or image to edit.
- Rebuild runs the Event Experience Survey setup again. This allows you to change your initial choices by selecting or unselecting the options. This is not available if you have already started collecting responses.
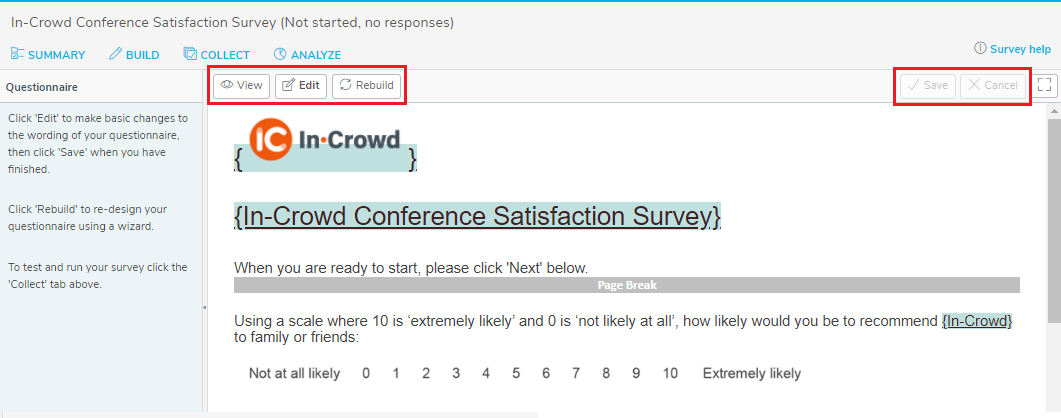
- Click Save to save any changes you have made. Click Cancel to cancel any changes and return to the original version. The read-only version is shown.
Step 3: Share with your customers using the link or the QR code
The next step is to test the Event Experience Survey and share it with your customers.
Viewing the interview settings
- Select the Event Experience Survey, if it is not already selected.
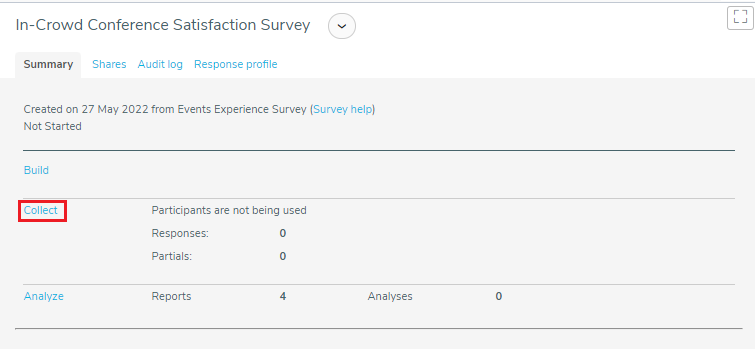
- In the Summary tab, click the Collect link. The Interview URL link and the QR code are available here.
Testing the Event Experience Survey
- Click Launch Preview. This opens a test version of the Event Experience Survey.

- Test the Event Experience Survey by completing it with different responses to check that it works the way you want. Your test responses are not saved and do not affect your data.
- If you need to make any changes, return to the Build tab where you can use Edit and Rebuild to make the changes then repeat the testing.
- When you are happy with the questionnaire, you can start collecting your customers’ responses.
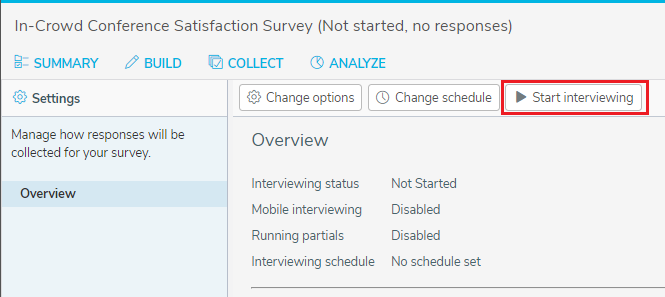
Start Interviewing
- Click Start Interviewing then click Start when you are asked to confirm.
- Now you can send the Interview URL link and/or QR code to your customers.
Making the Interview URL available
- In Web Interviews, click Copy URL to clipboard to copy the Interview URL link.

- Open your web browser, paste the link into the search bar at the top of your browser and press Enter. This loads the start page of the Event Experience Survey.
- Alternatively, open your email application and paste the link into an email to send to your customers.
- If you wish to include the Interview URL link in a printed sign for your customers, paste it into a document and print.
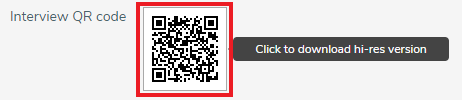
Making the QR code available
- In Web Interviews, click the QR code image to download the QR code to your device.
- The web browser shows a notification when the file has downloaded. Click on the notification to open and/or save the QR code.
- The QR code can be used in a printed sign for customers to use or attached to an email sent to your customers. The minimum size for a printed QR code is 2cm by 2cm.
Step 4: Ask your customers to complete the Event Experience Survey
When you have sent the Interview URL link or QR code to your customers, ask them to complete the questions.
Using the Interview URL link
- If your customer has an email with the Interview URL link, ask them to click this link to open the Event Experience Survey.
- Alternatively, open a web browser app and enter the Interview URL in the search bar of the browser. Press Enter to open the Event Experience Survey.
Using the QR code
- Using the QR code can quickly open the Event Experience Survey on your customers’ smartphones. Many smartphones, such as iPhones or Android devices, have an in-built QR code reader in the camera app.
- Open the camera app and point the camera at the QR code for a few seconds. When scanning is enabled a notification appears. Tap the notification to open the link.
- Alternatively, a QR code reader app can be installed on the phone. Follow the instructions for the app.
Completing the Event Experience Survey
- Ask your customers to answer the questions and click Submit.
- They will receive a notification to confirm that their response has been submitted.
Step 5: Use your data to improve your event
Each event experience survey has three reports.
- NPS and Satisfaction Report shows a comprehensive analysis of your customer responses
- NPS and Satisfaction Report with monthly context shows an NPS and satisfaction report with trend data that can be filtered for each month.
- Appendix – full comments shows the descriptions and comments entered by the respondents.
Analyzing your response data
- Select the Event Experience Survey, if it is not already selected.
- In the Summary tab, click the Analyze link. The reports are available here.
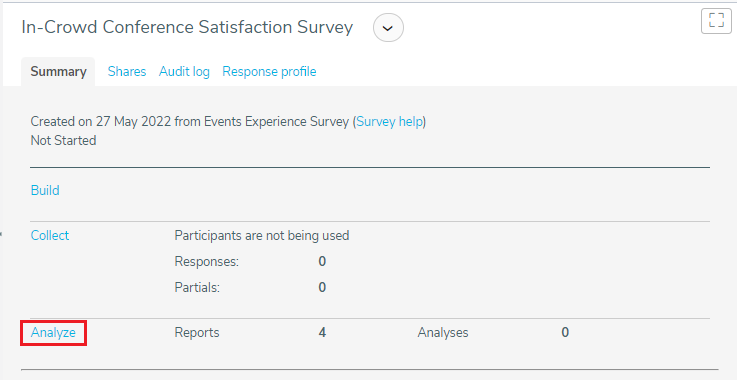
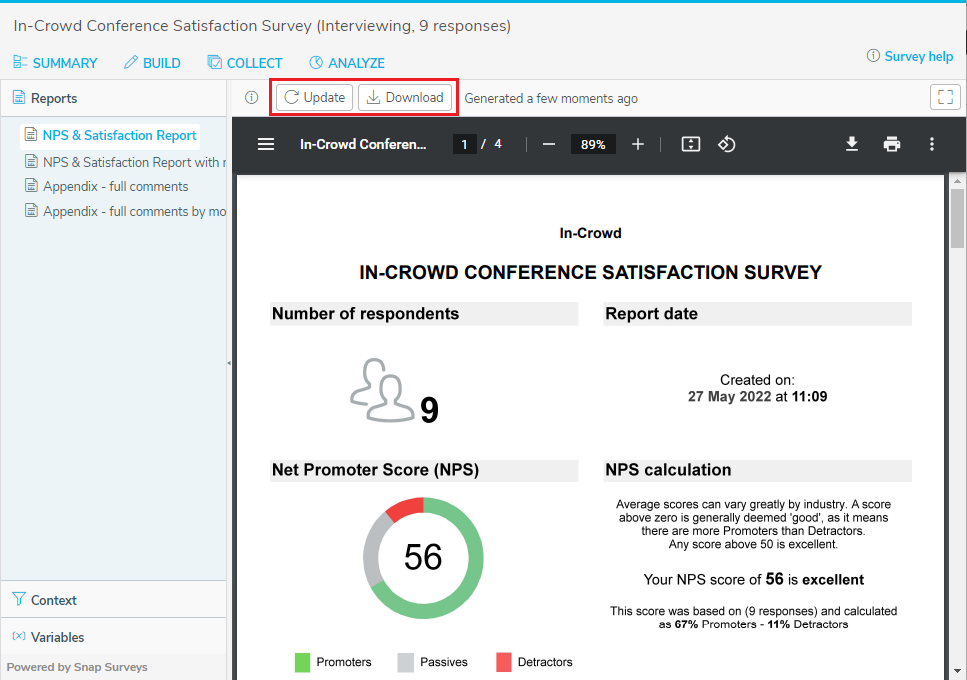
- Click on the NPS & Satisfaction Report to view the analysis of your response data.
- Click Update to get the latest data.
- Click Download to create a PDF version of the report.
- Click Print
 to print the report.
Applying a monthly context
The Event Experience Survey includes reports that can be viewed by month. This can be used to view the analysis of your response data for a selected month. To apply a context to the report, use the following instructions:
- Click on the NPS & Satisfaction Report with monthly context filter to view the analysis of your response data for a selected month.
- Select Context in the side menu.
-
Click Add variable
 to add a context rule.
- In the Select a variable list, select Period then click Next.
- In the Period list, select the month to use as the context filter and click OK.
- Click Apply changes to update the analysis of your response data for the selected month.
