Creating a branded survey template
This tutorial covers how to create a survey template with your organisation’s branding including logos, colours and fonts. To help with this Snap Surveys has provided a Branded Template Builder for Snap XMP Desktop. This archive file can be downloaded by clicking the following link.
Branded Template Builder-Snap XMP Desktop download
Once downloaded, extract zipped file to use.
Restore the Branded Template Builder
-
In the Survey Overview window, select Offline Surveys
 .
.
-
Click Restore
 . This opens the Restore survey dialog.
- Browse for the archive file Branded Template Builder – Snap Desktop.adf and click OK. This restores the survey and selects it in the Survey Overview window ready for use.
What’s included in the Branded Template Builder
The Branded Template Builder is a survey containing
- Four editions for PC/Laptop, Tablet, Phone and Paper:Keyed
- English language
- Logo placeholder
- Standard question styles that are supplied with Snap XMP Desktop with a question included for each question style in the questionnaire
Adding your organisation’s branding
This section covers the common areas where you can set up your organisation’s branding in a survey template. There are many more areas that you can apply branding, Introduction to Survey Templates shows more ideas. Remember to apply these changes to all the editions of the questionnaire.
- In the Survey Overview window, double-click the Branded Template Builder survey to open in the Questionnaire window.
-
Click Style Mode
 . This mode allows you to change the appearance of all the questions with a question style. Use this mode when adding any branding to the questionnaire.
- In the Question Style list, select the group of questions that will be updated with the style change. For example, when a Single Choice question is selected you can choose to update all questions that are Single Choice, all questions that are multi choice type questions, or all styles. You may choose a different group of questions for each style change.
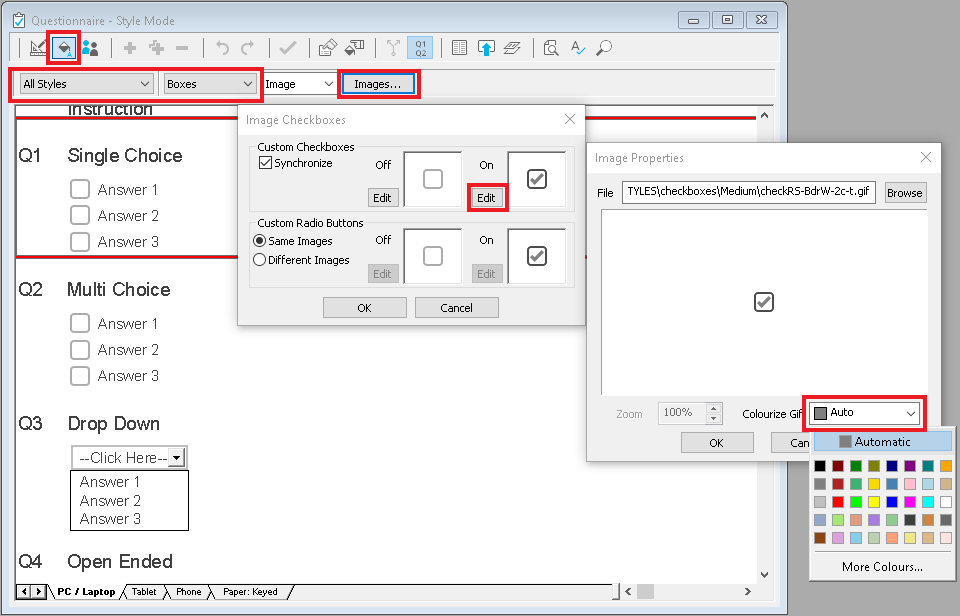
- You can change the check boxes to the branded colours by selecting the Boxes topic. If you want to change the box colours on all questions, select ‘All Styles’ in the Question Style list then click the Images button to change the colour.
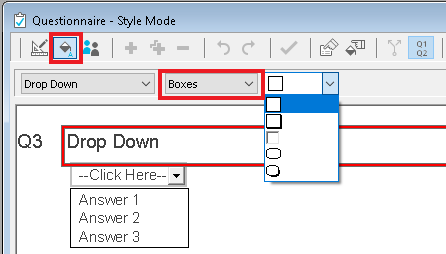
- You can change the box style of drop down or open ended questions using the Boxes dropdown. In the Question Style list, select the group of questions that you want to update.
-
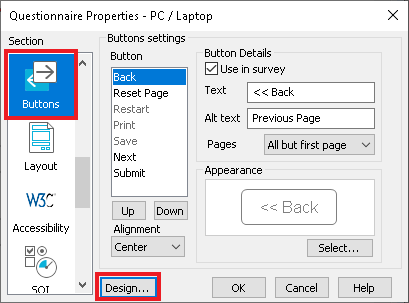
The style and colour of the navigation buttons can be changed in the Questionnaire properties. Click Questionnaire properties
 then select Buttons. Click Design to display the Navigation Design where you can change the appearance of the buttons. We recommend that the Progress bar remains grey and the Submit button is set to green.
- In the Questionnaire window, double click the logo placeholder. This opens the Image Properties dialog where you can browse for the logo image file. Ensure that the image is the right fit for each edition.
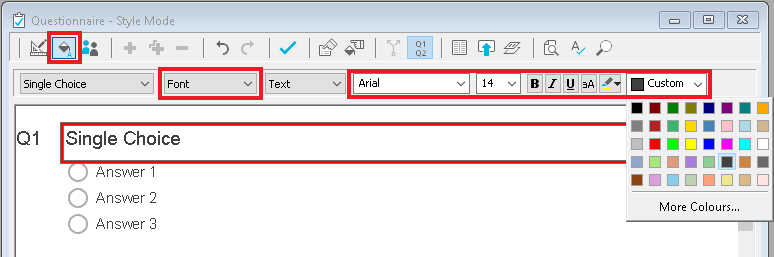
- Make any changes to the font, such as font face, size, style and color by selecting the question style then selecting the Font topic. When editing Font styles, note that making changes to All Styles will also apply those changes to the Titles, Sub Titles and Instructions. It is therefore advised that these changes are made to each Question Style.
-
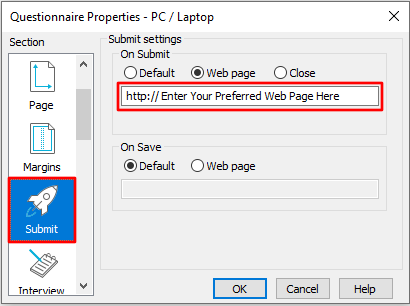
There are a number of options available in Questionnaire properties
 that you may like to review, including the Submit section where you can specify where participants will be directed to after they have pressed submit
- Add in any standard questions, introductions or hyperlinks that are to be built into the survey each time the template is used. These may include links to privacy policies, instructions on how to complete the questionnaire, demographic questions and thank you messages. You can find further information on inserting hyperlinks at Using HTML.
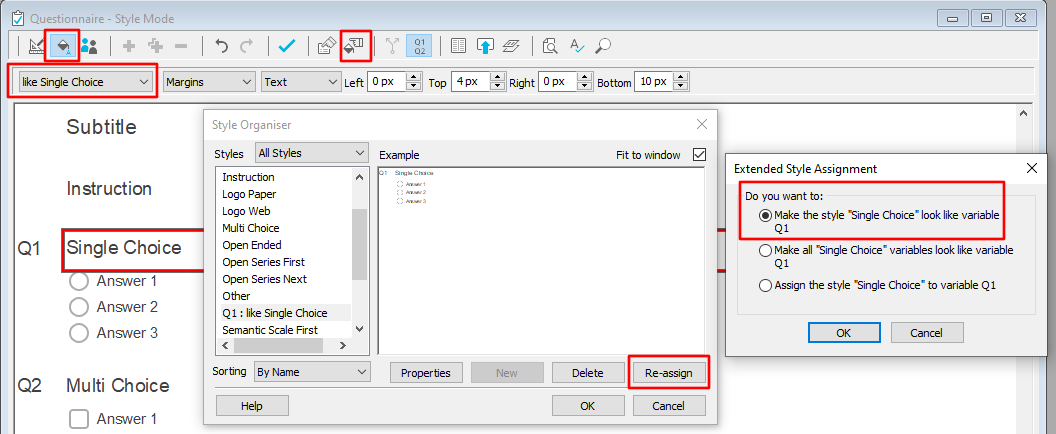
- Make sure all the questions are named styles and do NOT have ‘Like’ in the title. ‘Like’ styles happen when you make a formatting change to the question without being in Style Mode. If there are any in the questionnaire, re-assign the style back to a standard style using the Style Organizer when in Style Mode.
-
Click Save
 to save the survey.
-
In the Survey Overview window, select the survey then click Archive
 . Complete the archive dialog and click OK to archive the survey.
Creating the Survey Template
The Branded Template Builder survey now contains your organization’s branding. The next step is to create the survey template from the Branded Template Builder survey.
-
In the Survey Overview window, click Clone
 to create a copy of the Branded Template Builder – Snap Desktop survey and give it a relevant name, such as My Organization Survey Template – Desktop
-
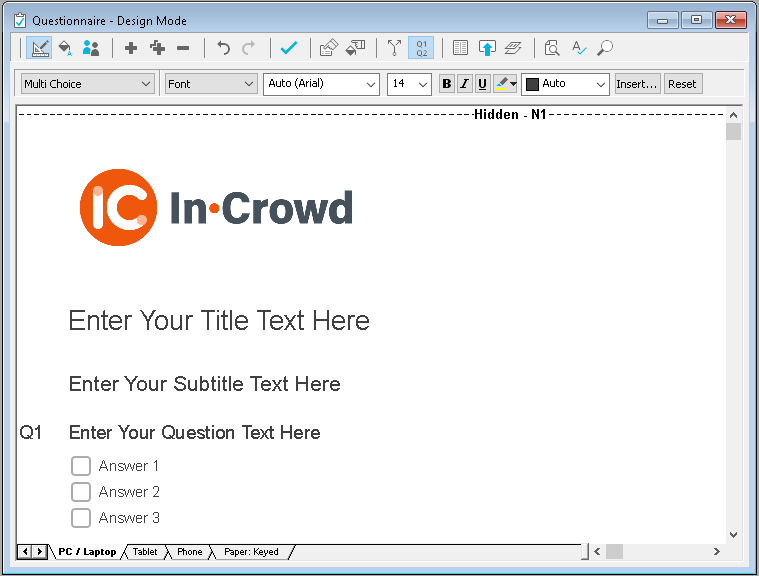
Open the cloned survey in the Questionnaire window and click Design Mode
 .
.
- Edit the text of the Title, Sub Title and Q1 so they become place holders. You may include other questions if they are to be included by default every time a new survey is created using the survey template.
- Delete all the other questions that are not displayed by default every time a new survey is created. That is, remove most of the other questions but leave any standardized text and questions, such as introductions, privacy statement and hyperlinks.
-
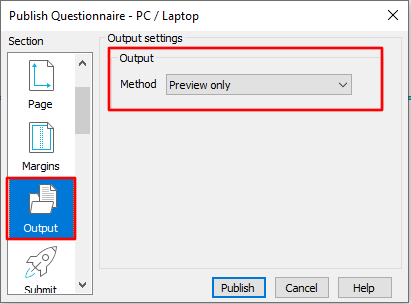
Select the PC / Laptop edition then click Publish
 then in Method, select Preview Only. This ensures the PC / Laptop edition is the edition which is selected by default when you create a survey from the survey template.
-
Click Save
 to save the survey.
-
In the Survey Overview window, select the survey then click Archive
 . Complete the archive dialog and click OK to archive the survey.
- Select the survey and click File | Save As Template to create the survey template. (Remove the auto-generated number 1 at the end of the name.)

Testing
Before using the survey template, test the branding appears as required and check that images and branding work for all editions.
- In the Survey Overview window, right-click on the survey template and select Create Survey.
- In the New Survey dialog, enter the name, title and any other details for the survey.
- Click OK and the survey is displayed in the Questionnaire window.
- Check that all the included questions are shown as expected in each edition.
- Add a number of questions in different question styles.
- Save the questionnaire.
- Publish the survey and check that it displays on a PC, a tablet and a phone without any scrolling left and right.
Adding the survey template to a SurveyPak
Once you have created and tested the survey template you can add it to the User SurveyPak supplied with Snap XMP Desktop or your own SurveyPak. This lets you select the survey template from the list of User Templates when you create a new survey in the Survey Overview window and in Snap XMP Online. There are instructions at Adding a survey template to a SurveyPak showing how to add a survey template to a SurveyPak.